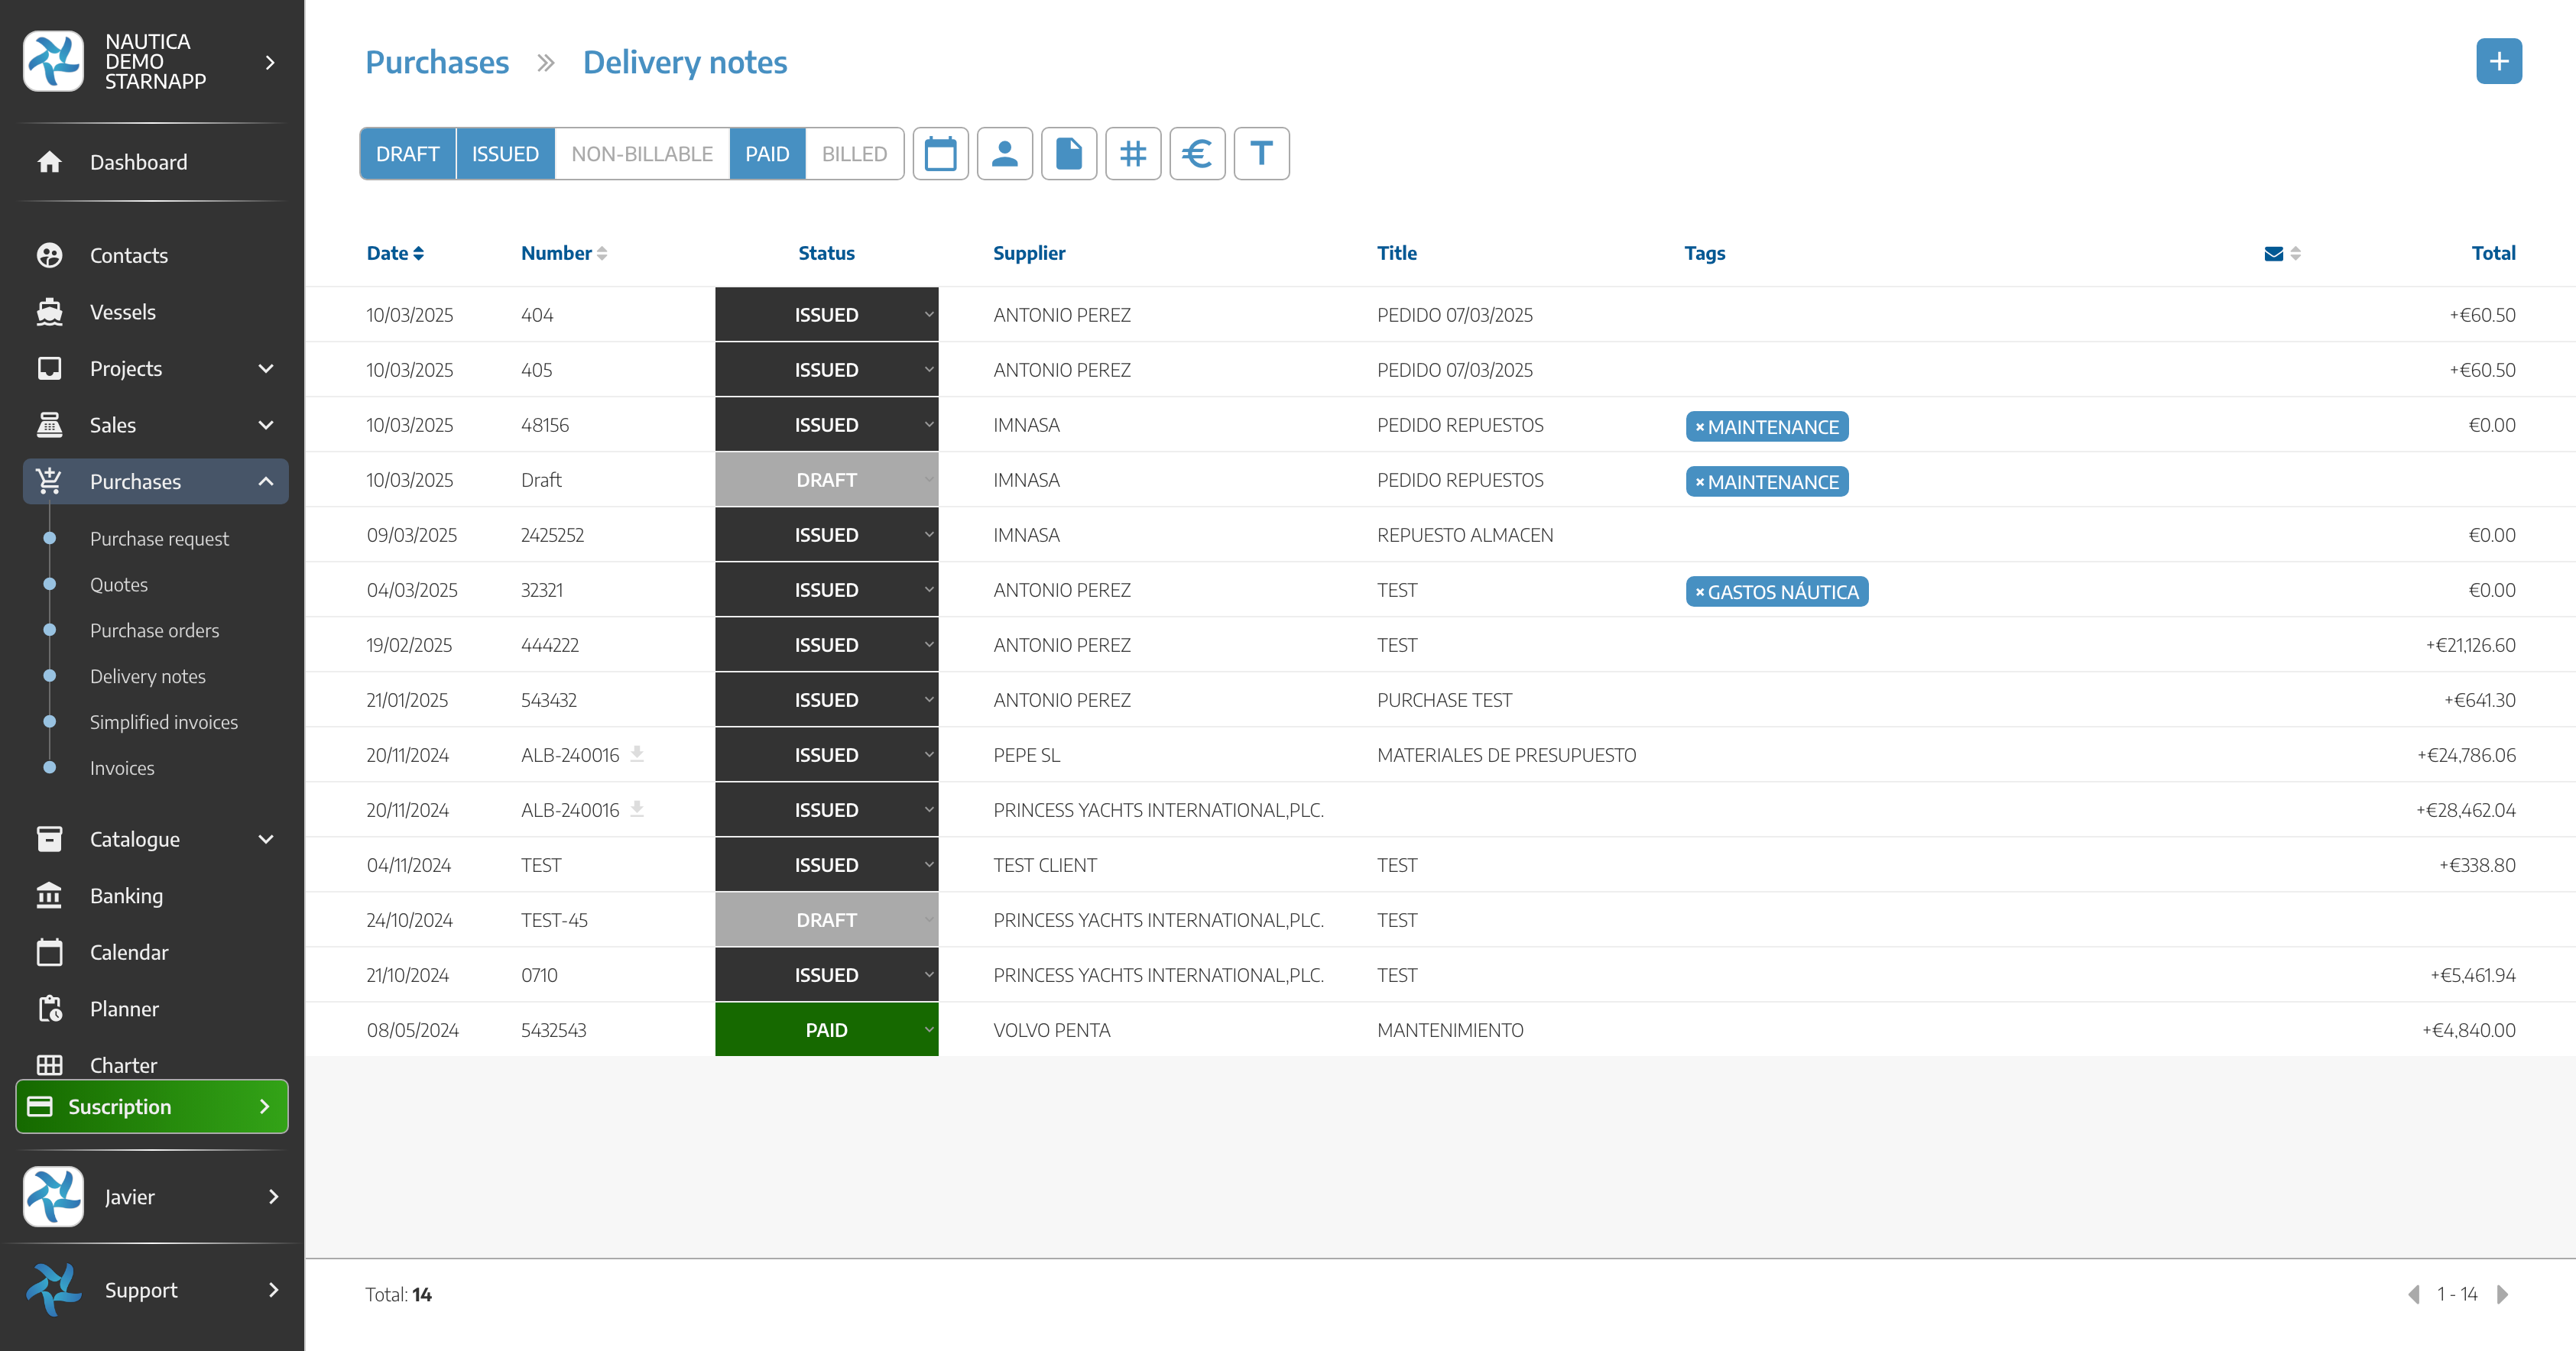
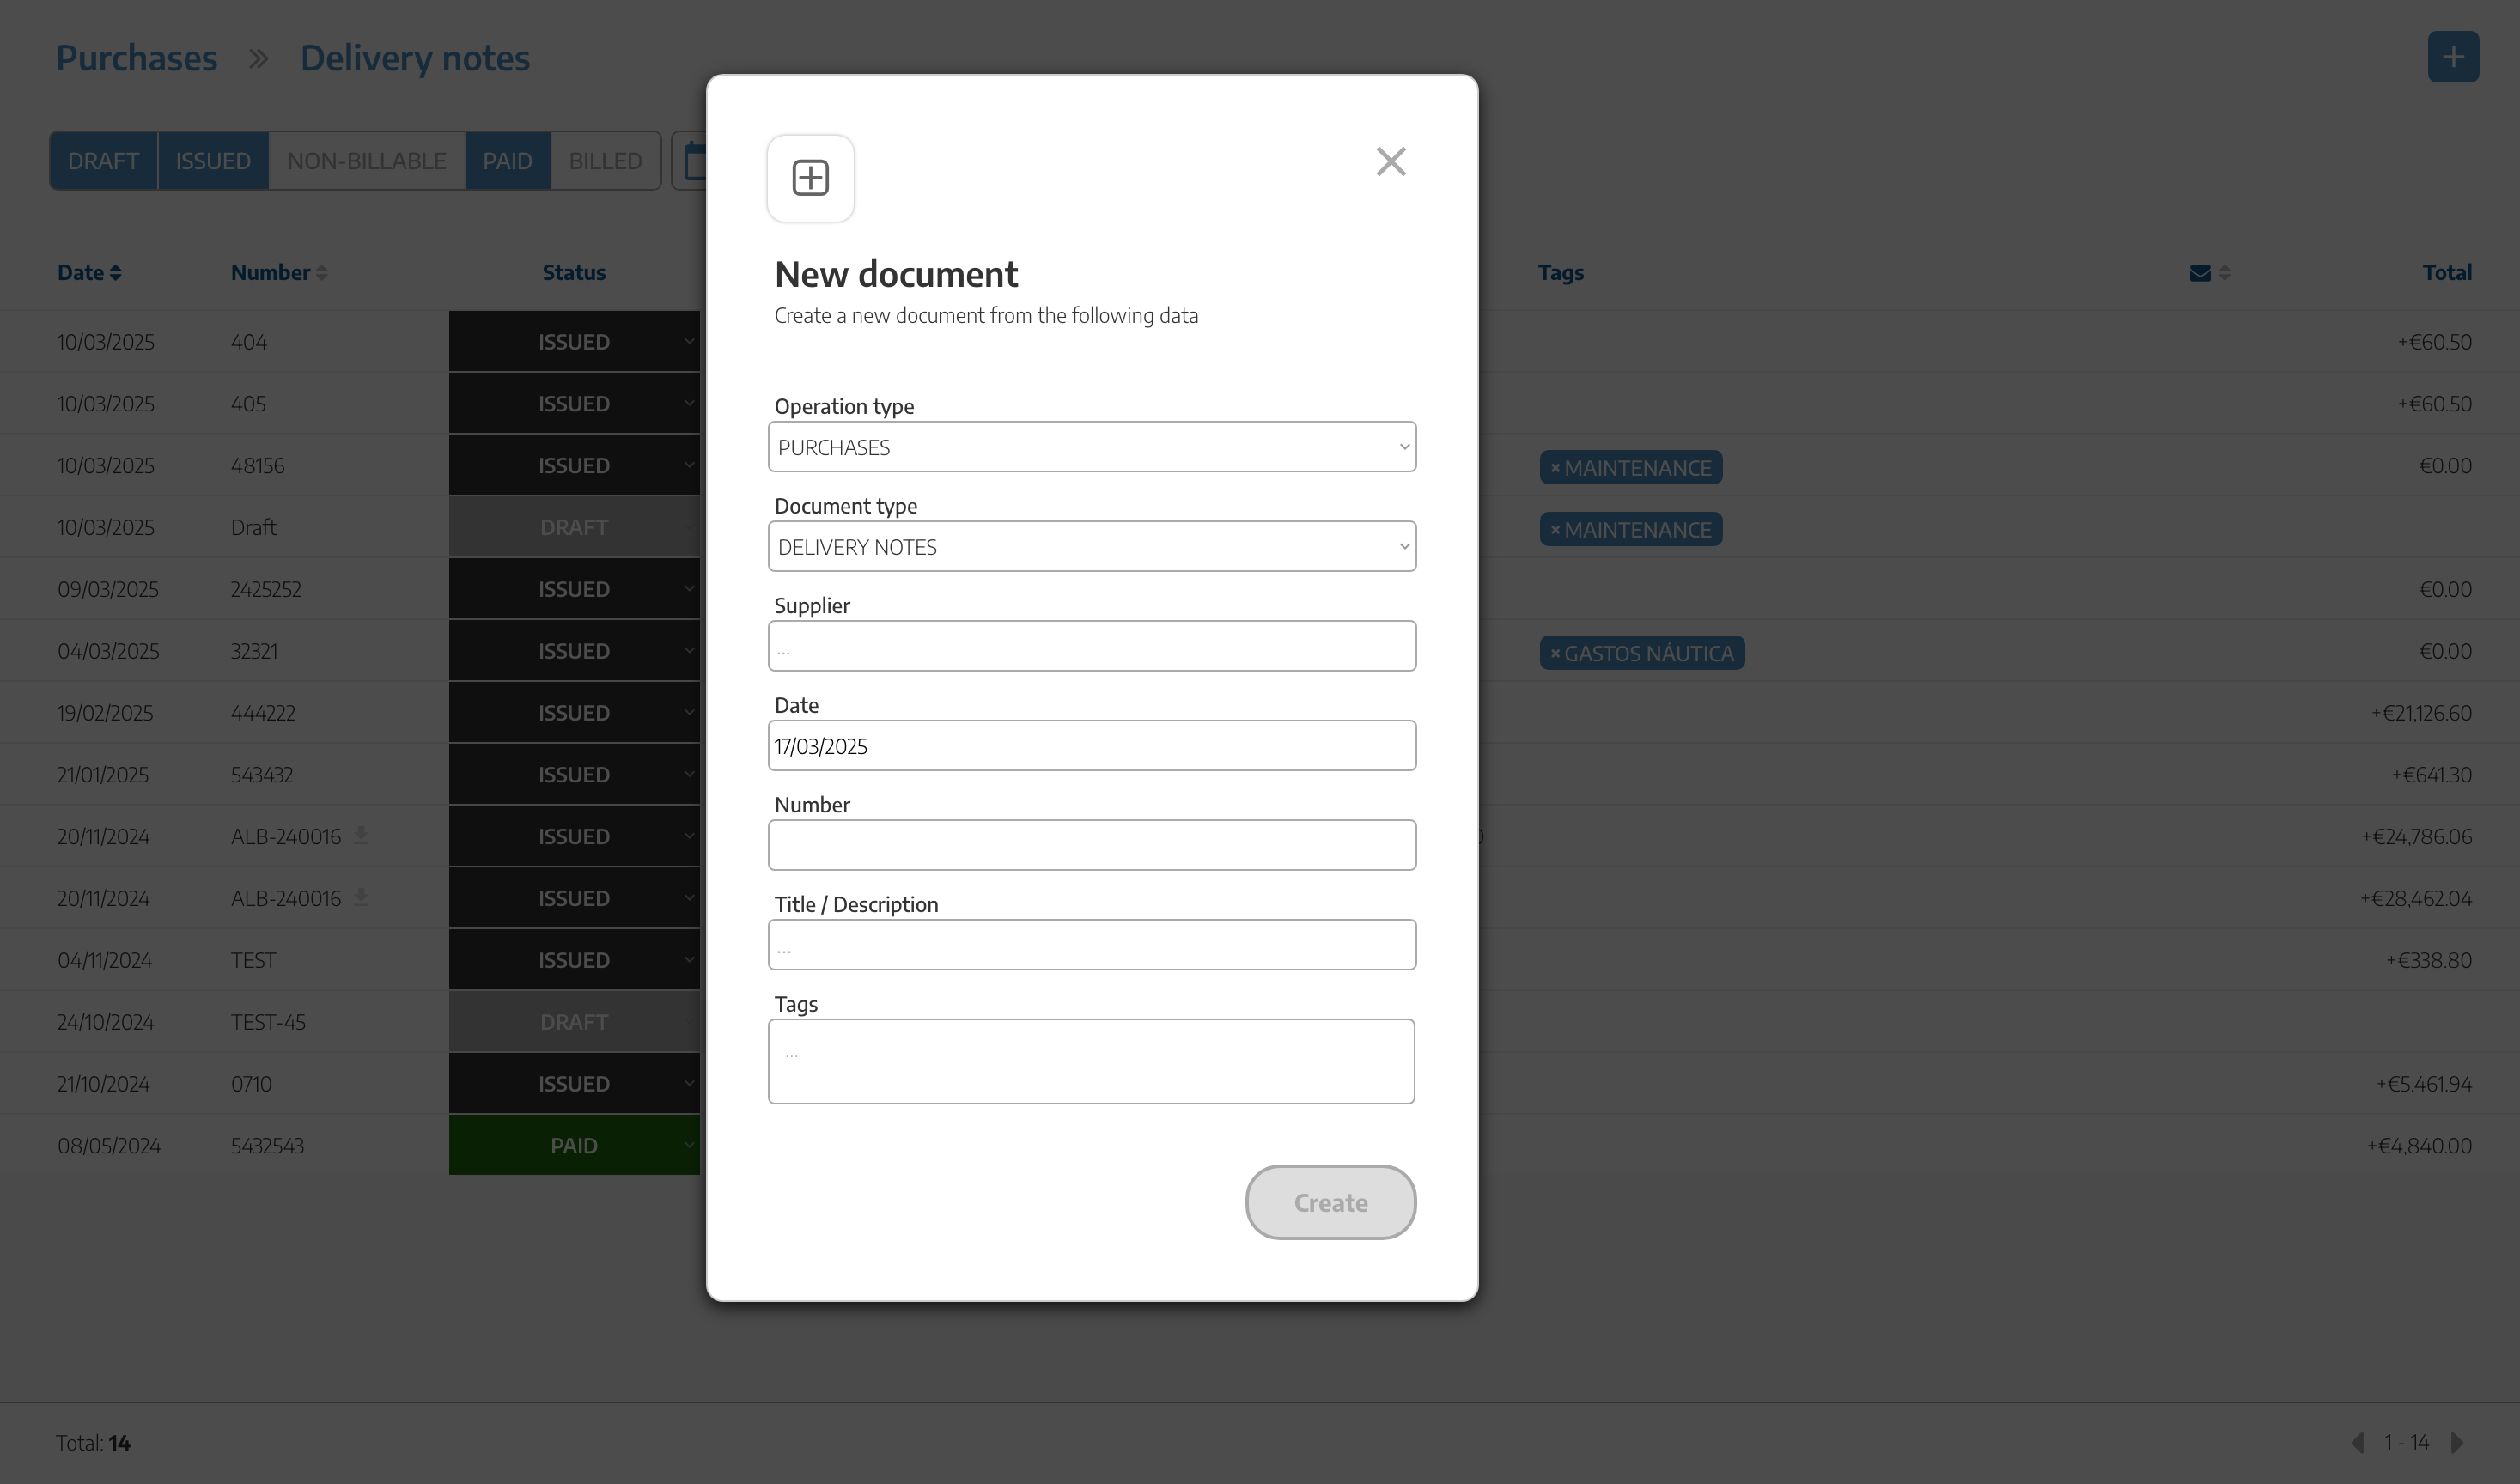
From this section we will be able to see the delivery notes that have been generated from our purchase orders and generate new ones.
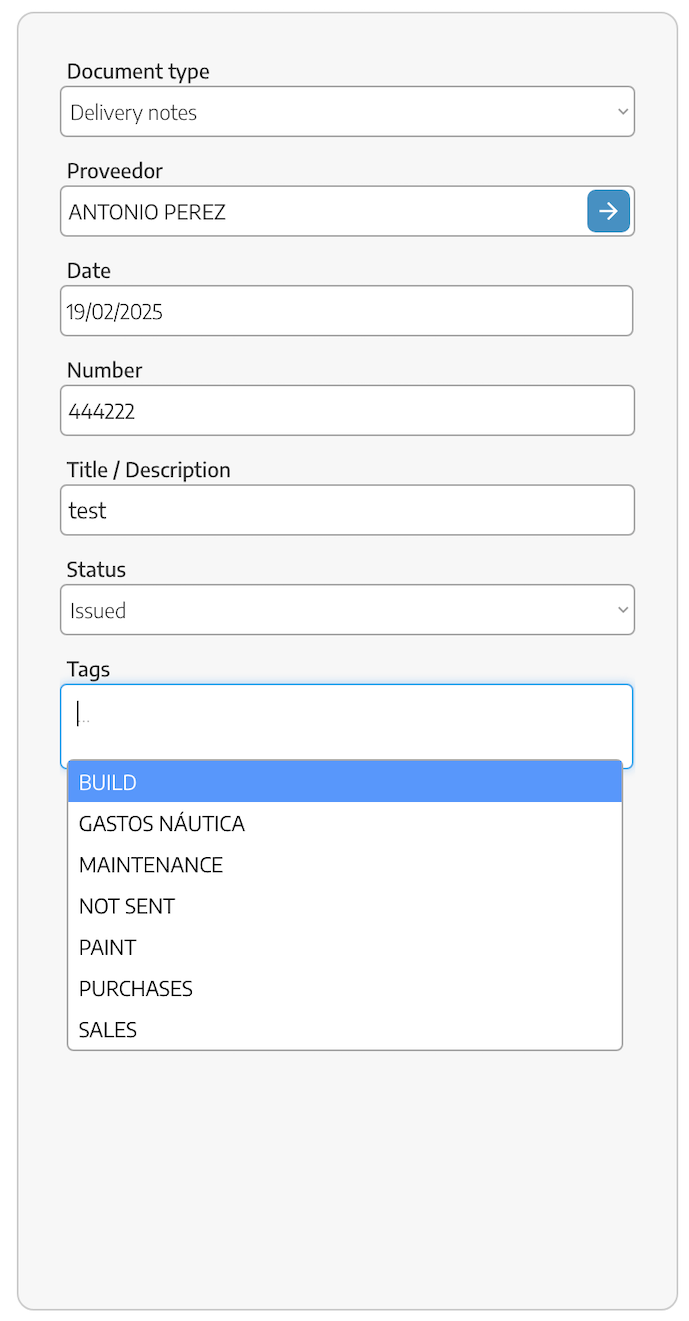
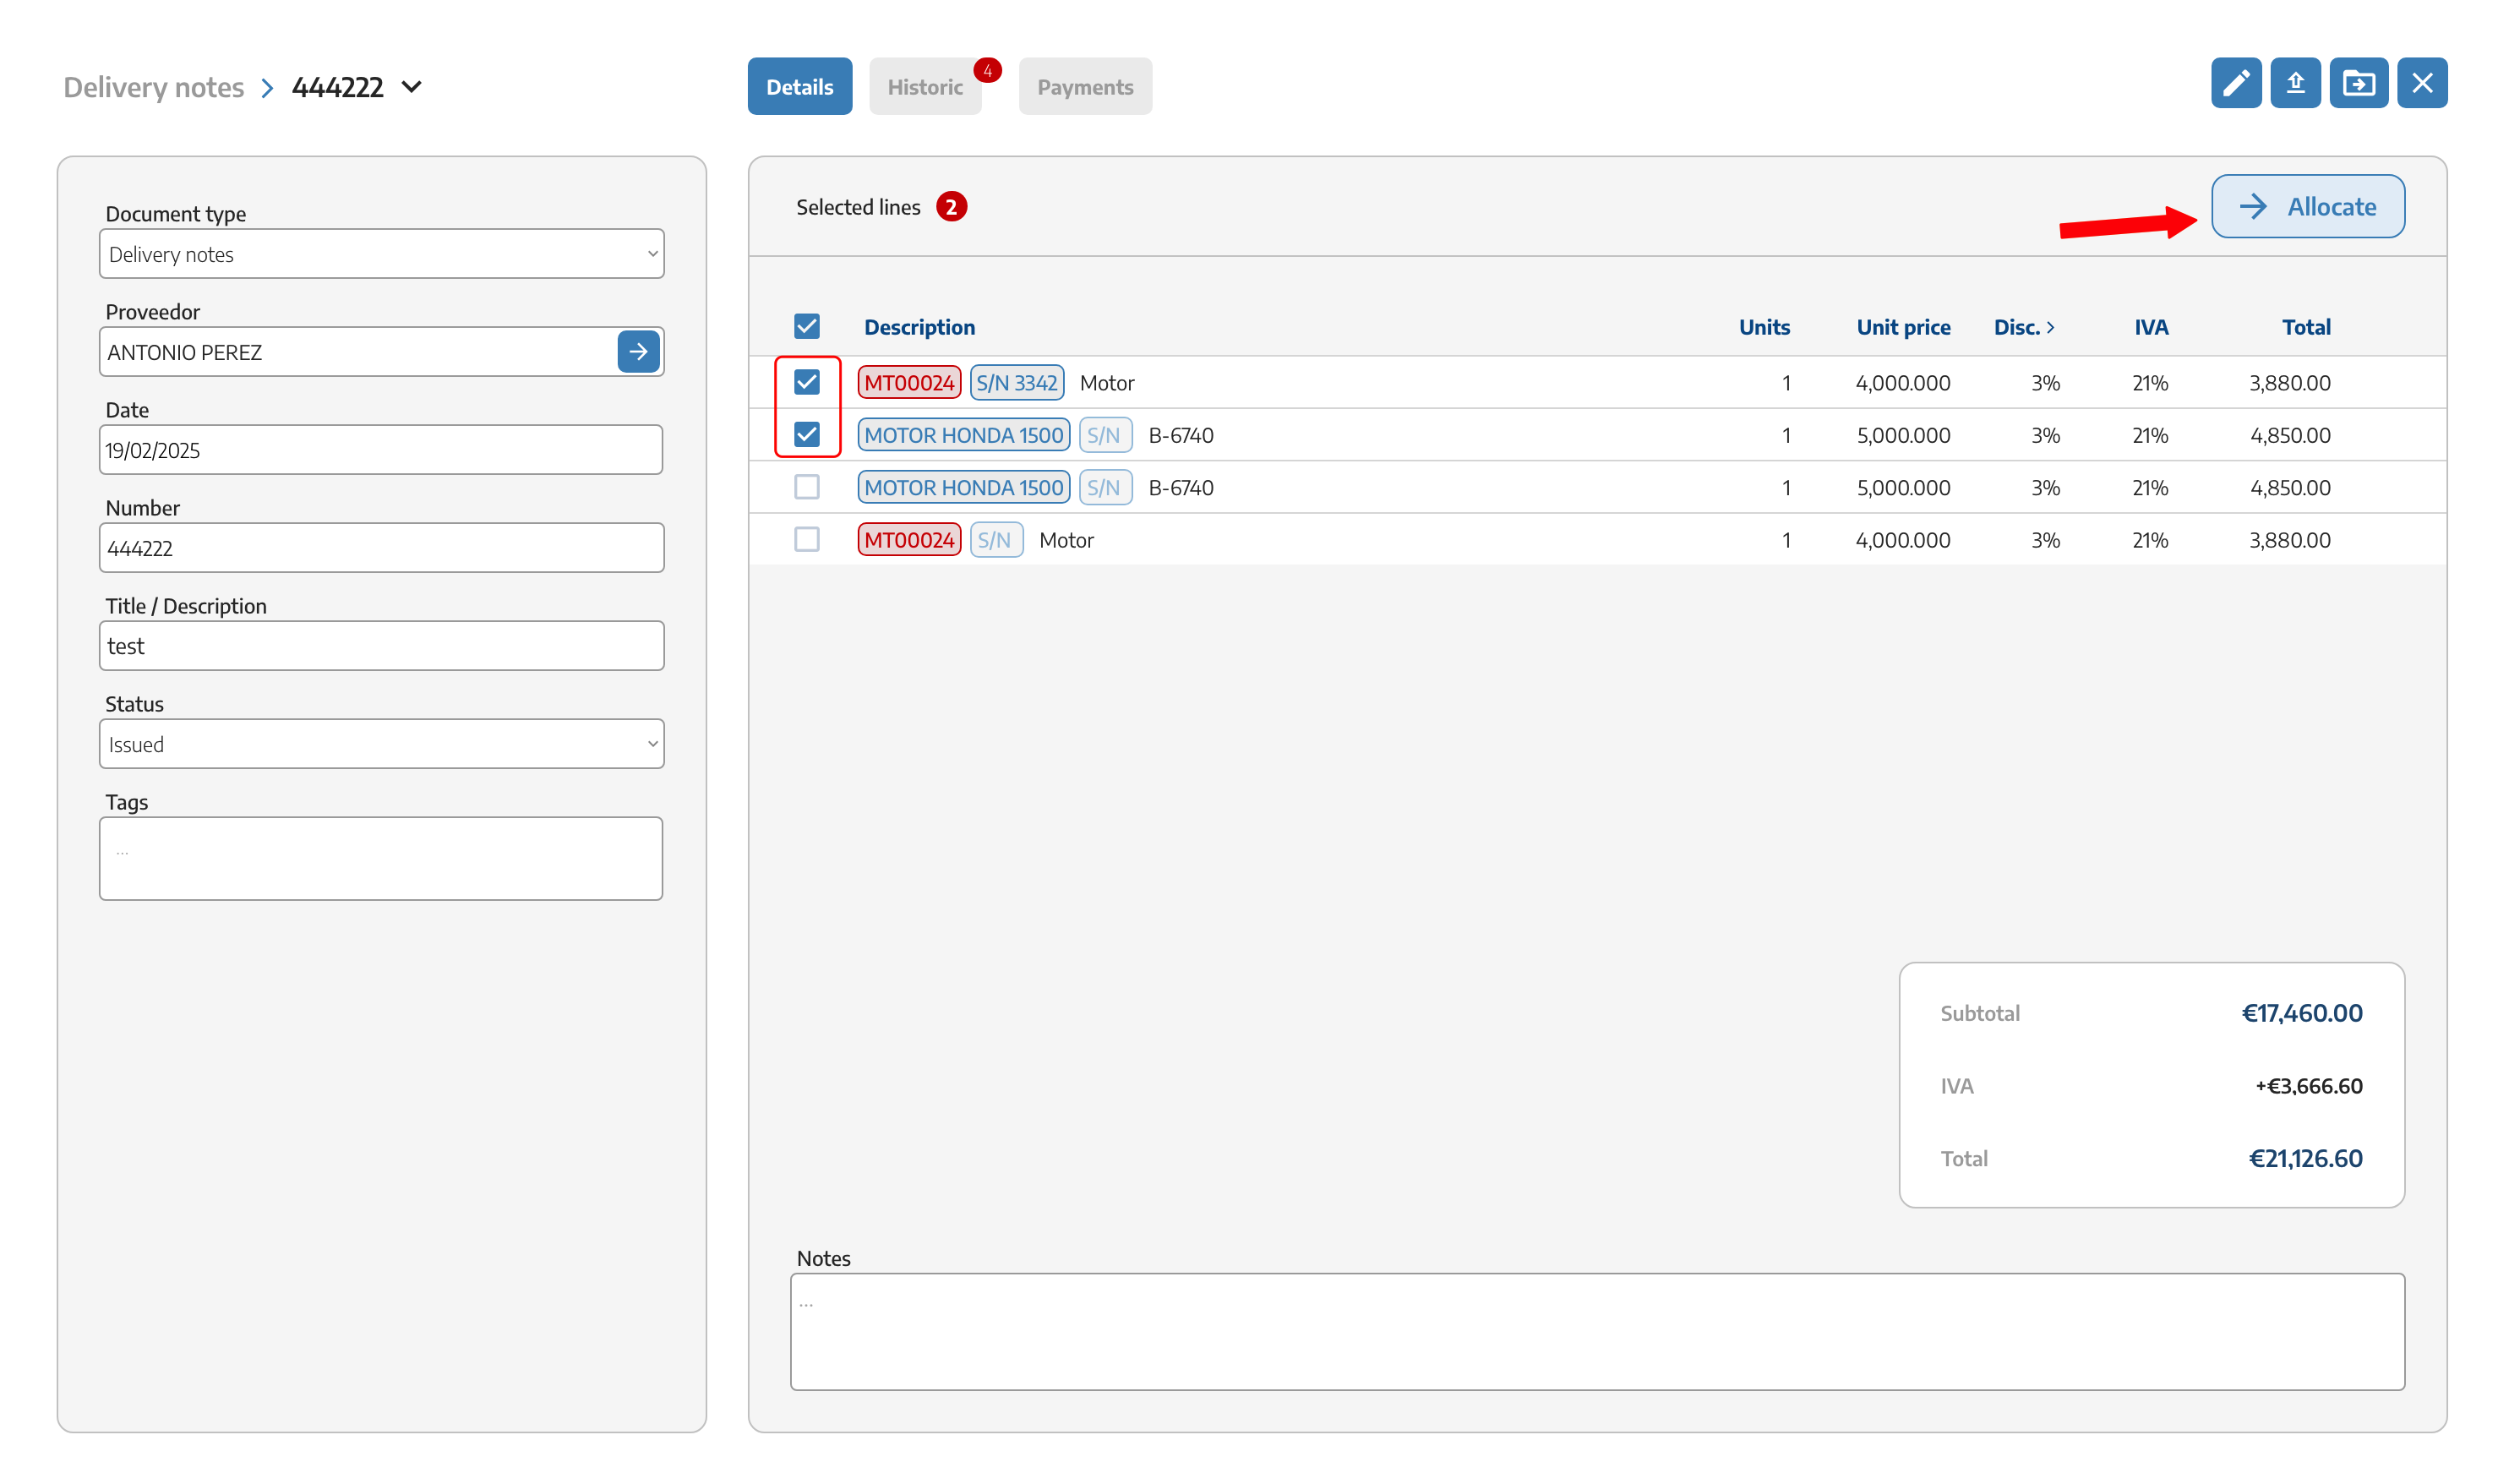
These documents follow the same line as the other documents, on the left side we can modify the different data we have, such as the supplier, the date, the number, etc. On the right side we can add the different materials with their respective quantities, discounts, taxes, etc. To later generate the invoice of this delivery note.
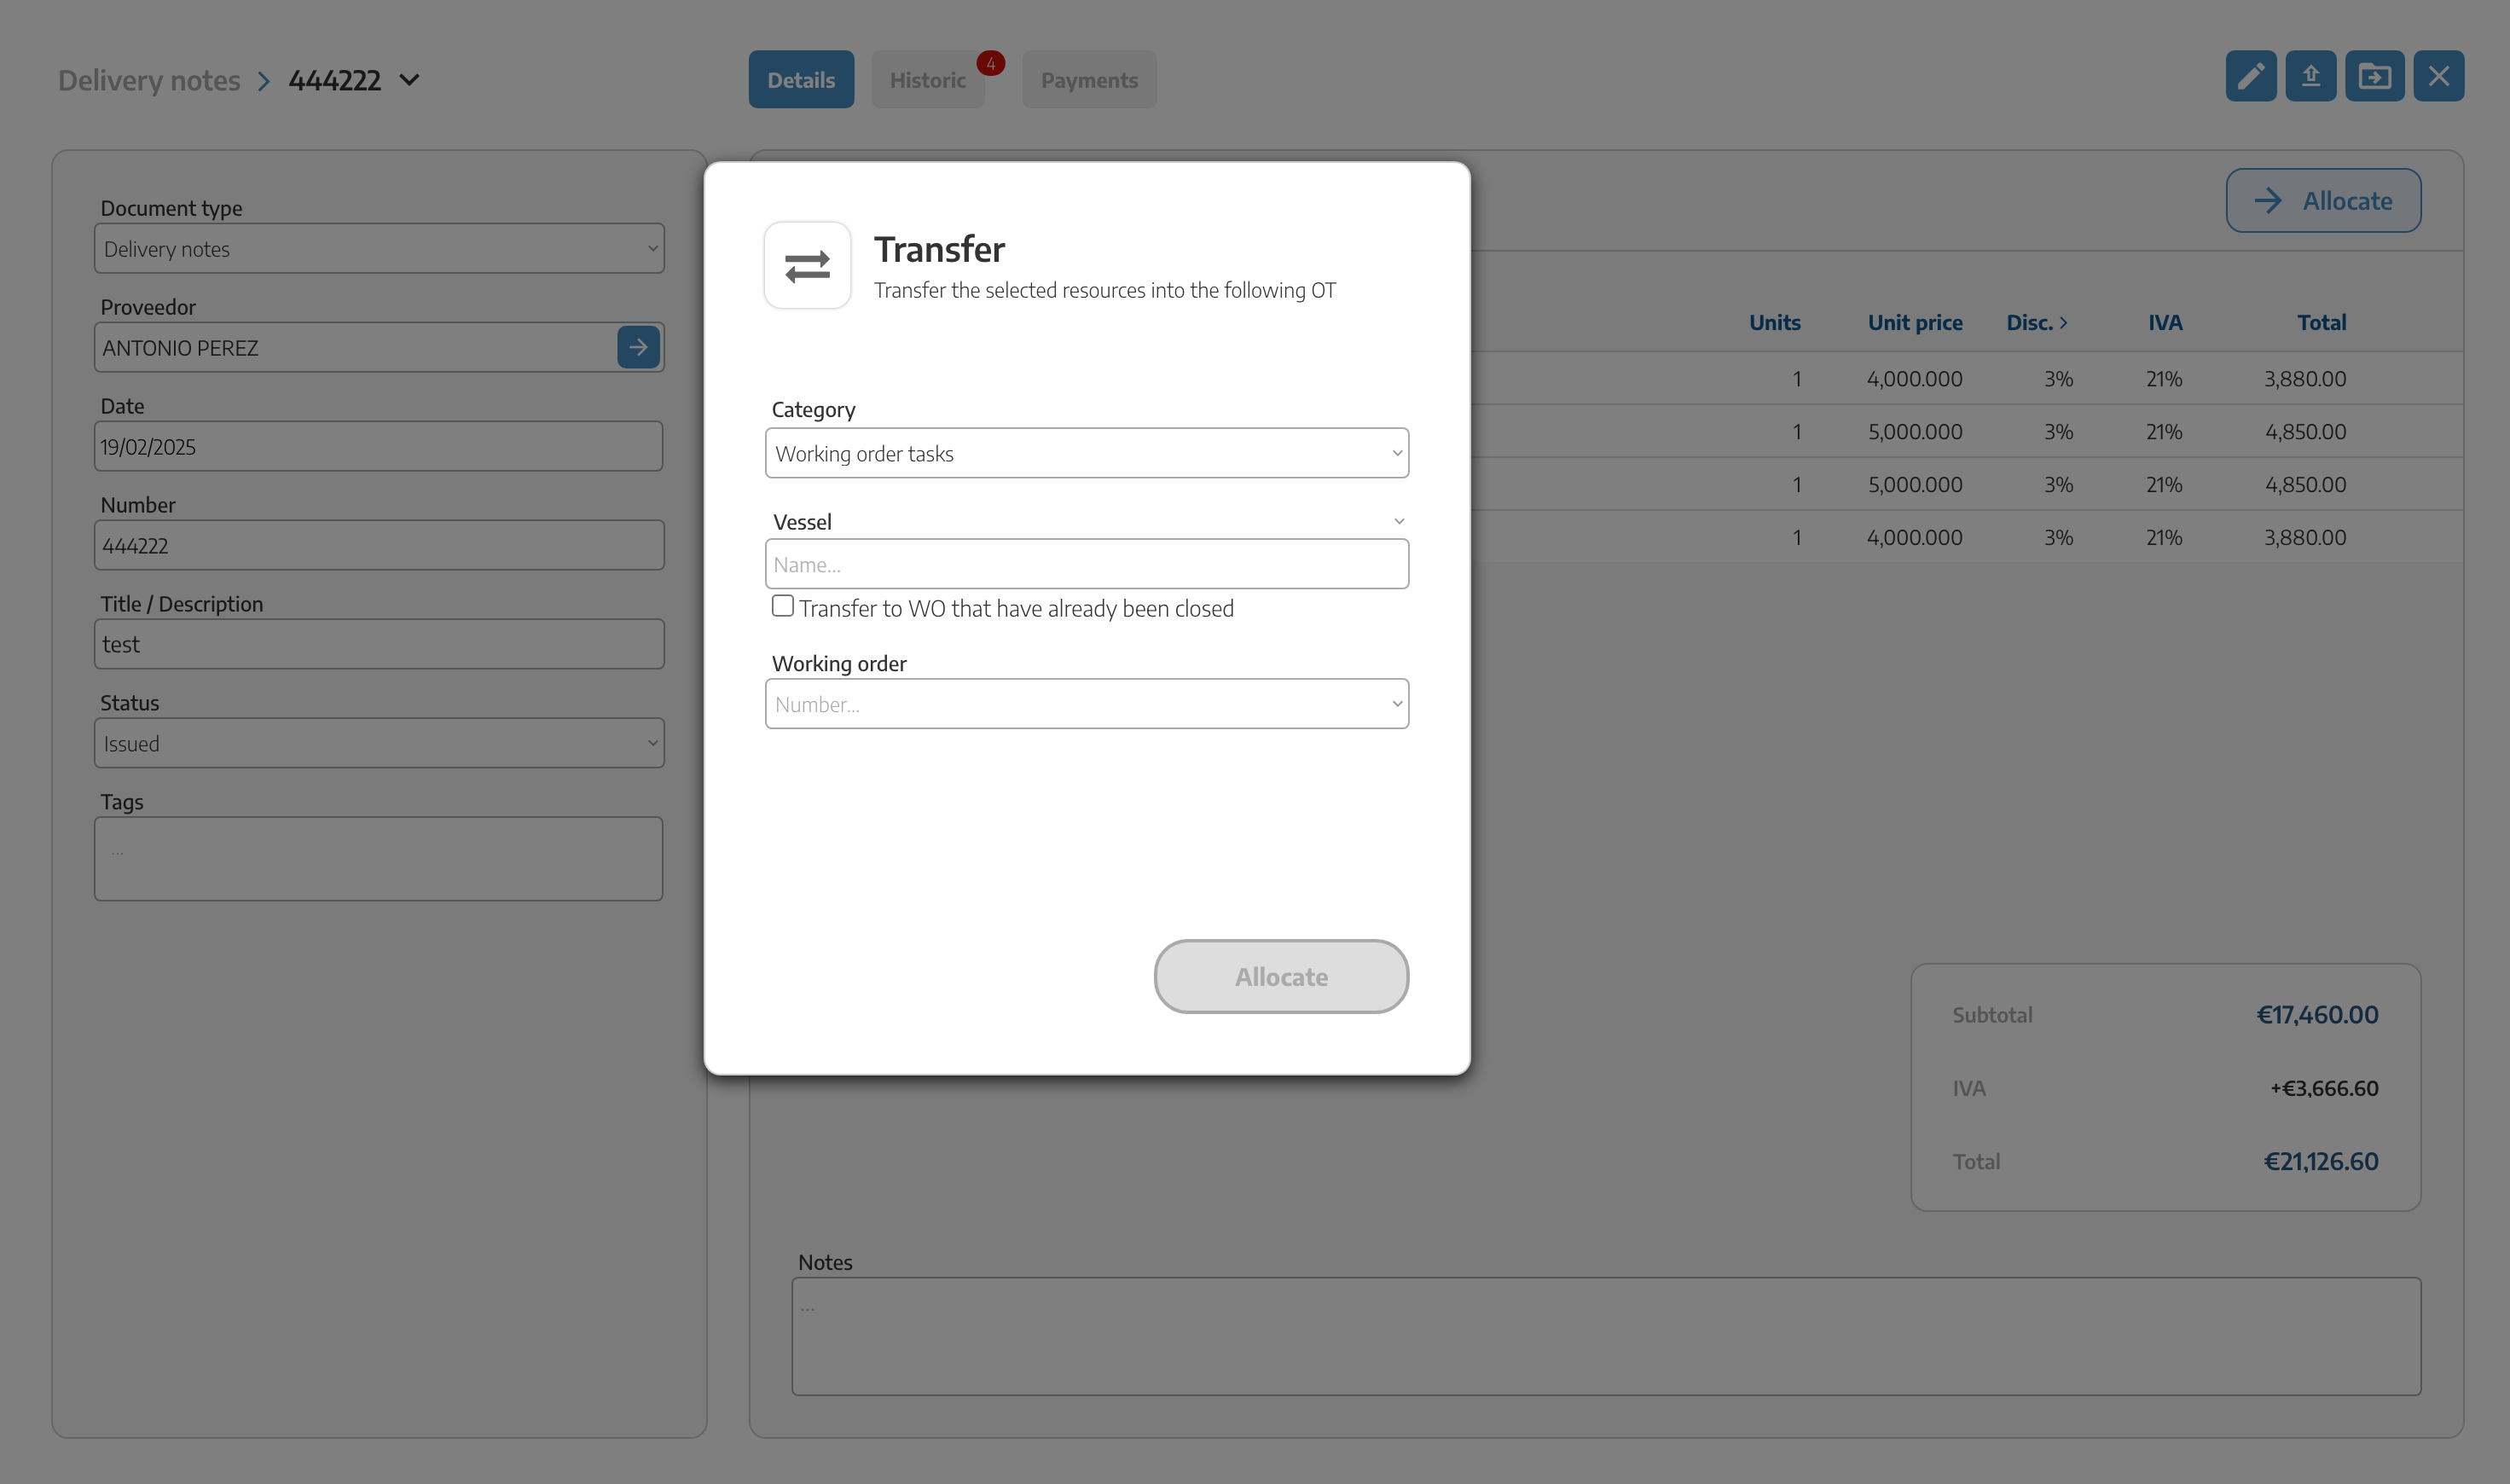
Once the delivery note has been issued, we can assign these references to work orders or internal tasks. We will select the references that we are going to allocate with the selectable that we have to the left of the name of this one. Once selected we will see the IMPUTE button at the top right, by clicking on this button we can choose between WORK ORDER or INTERNAL TASK. Selecting work order we can see the list of vessels we have, selecting one of these vessels in the box below we can see the list of WOs where we can impute this reference or we can search these WOs by contact.
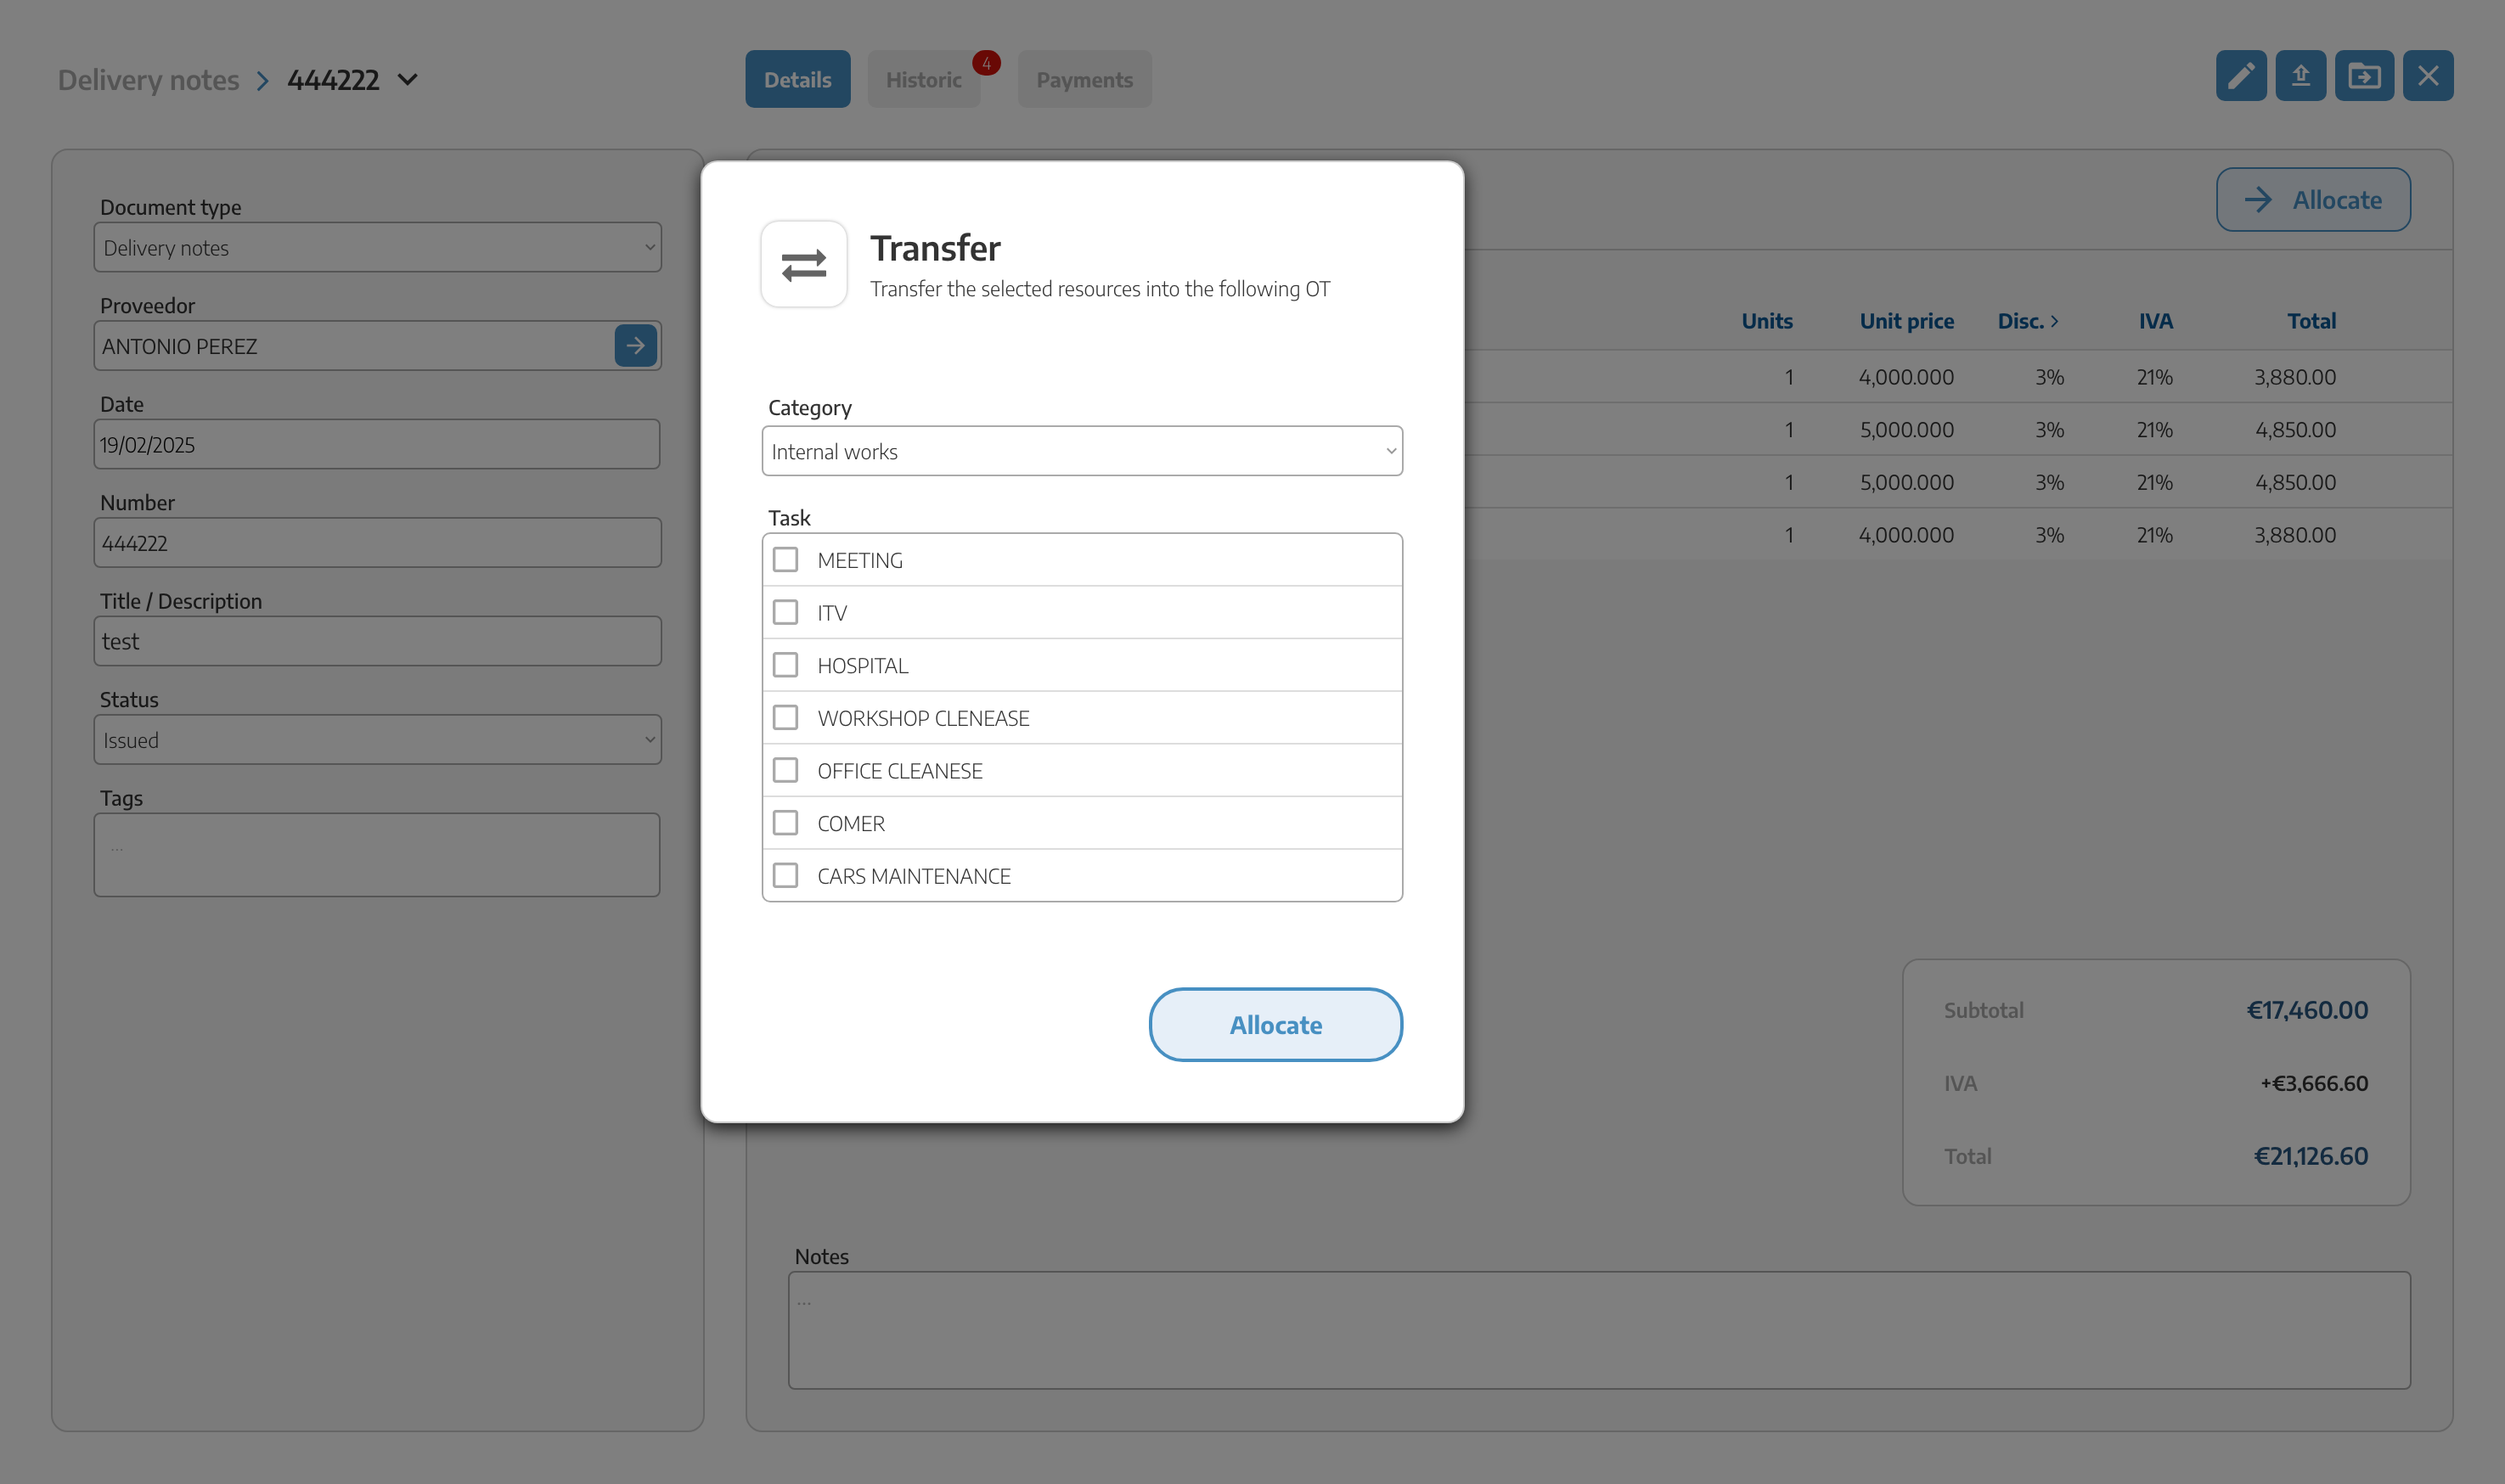
On the other hand we can allocate these references to internal tasks, by selecting this option we will see all the internal tasks that we have registered.
We will be able to save the delivery note in case we have it in PDF or in a photo from our computer, by clicking on the button at the top right we will open the search engine of our computer to upload the document.

You can also add labels to the delivery notes in order to filter by type of material, for example. In the initial screen as you can see you will have several filters where you can display delivery notes according to the label, supplier, document type, etc.