The quote is, in most cases, the starting point of the sales flow: this is where we load the work and materials we're proposing to the customer, before they approve moving forward.
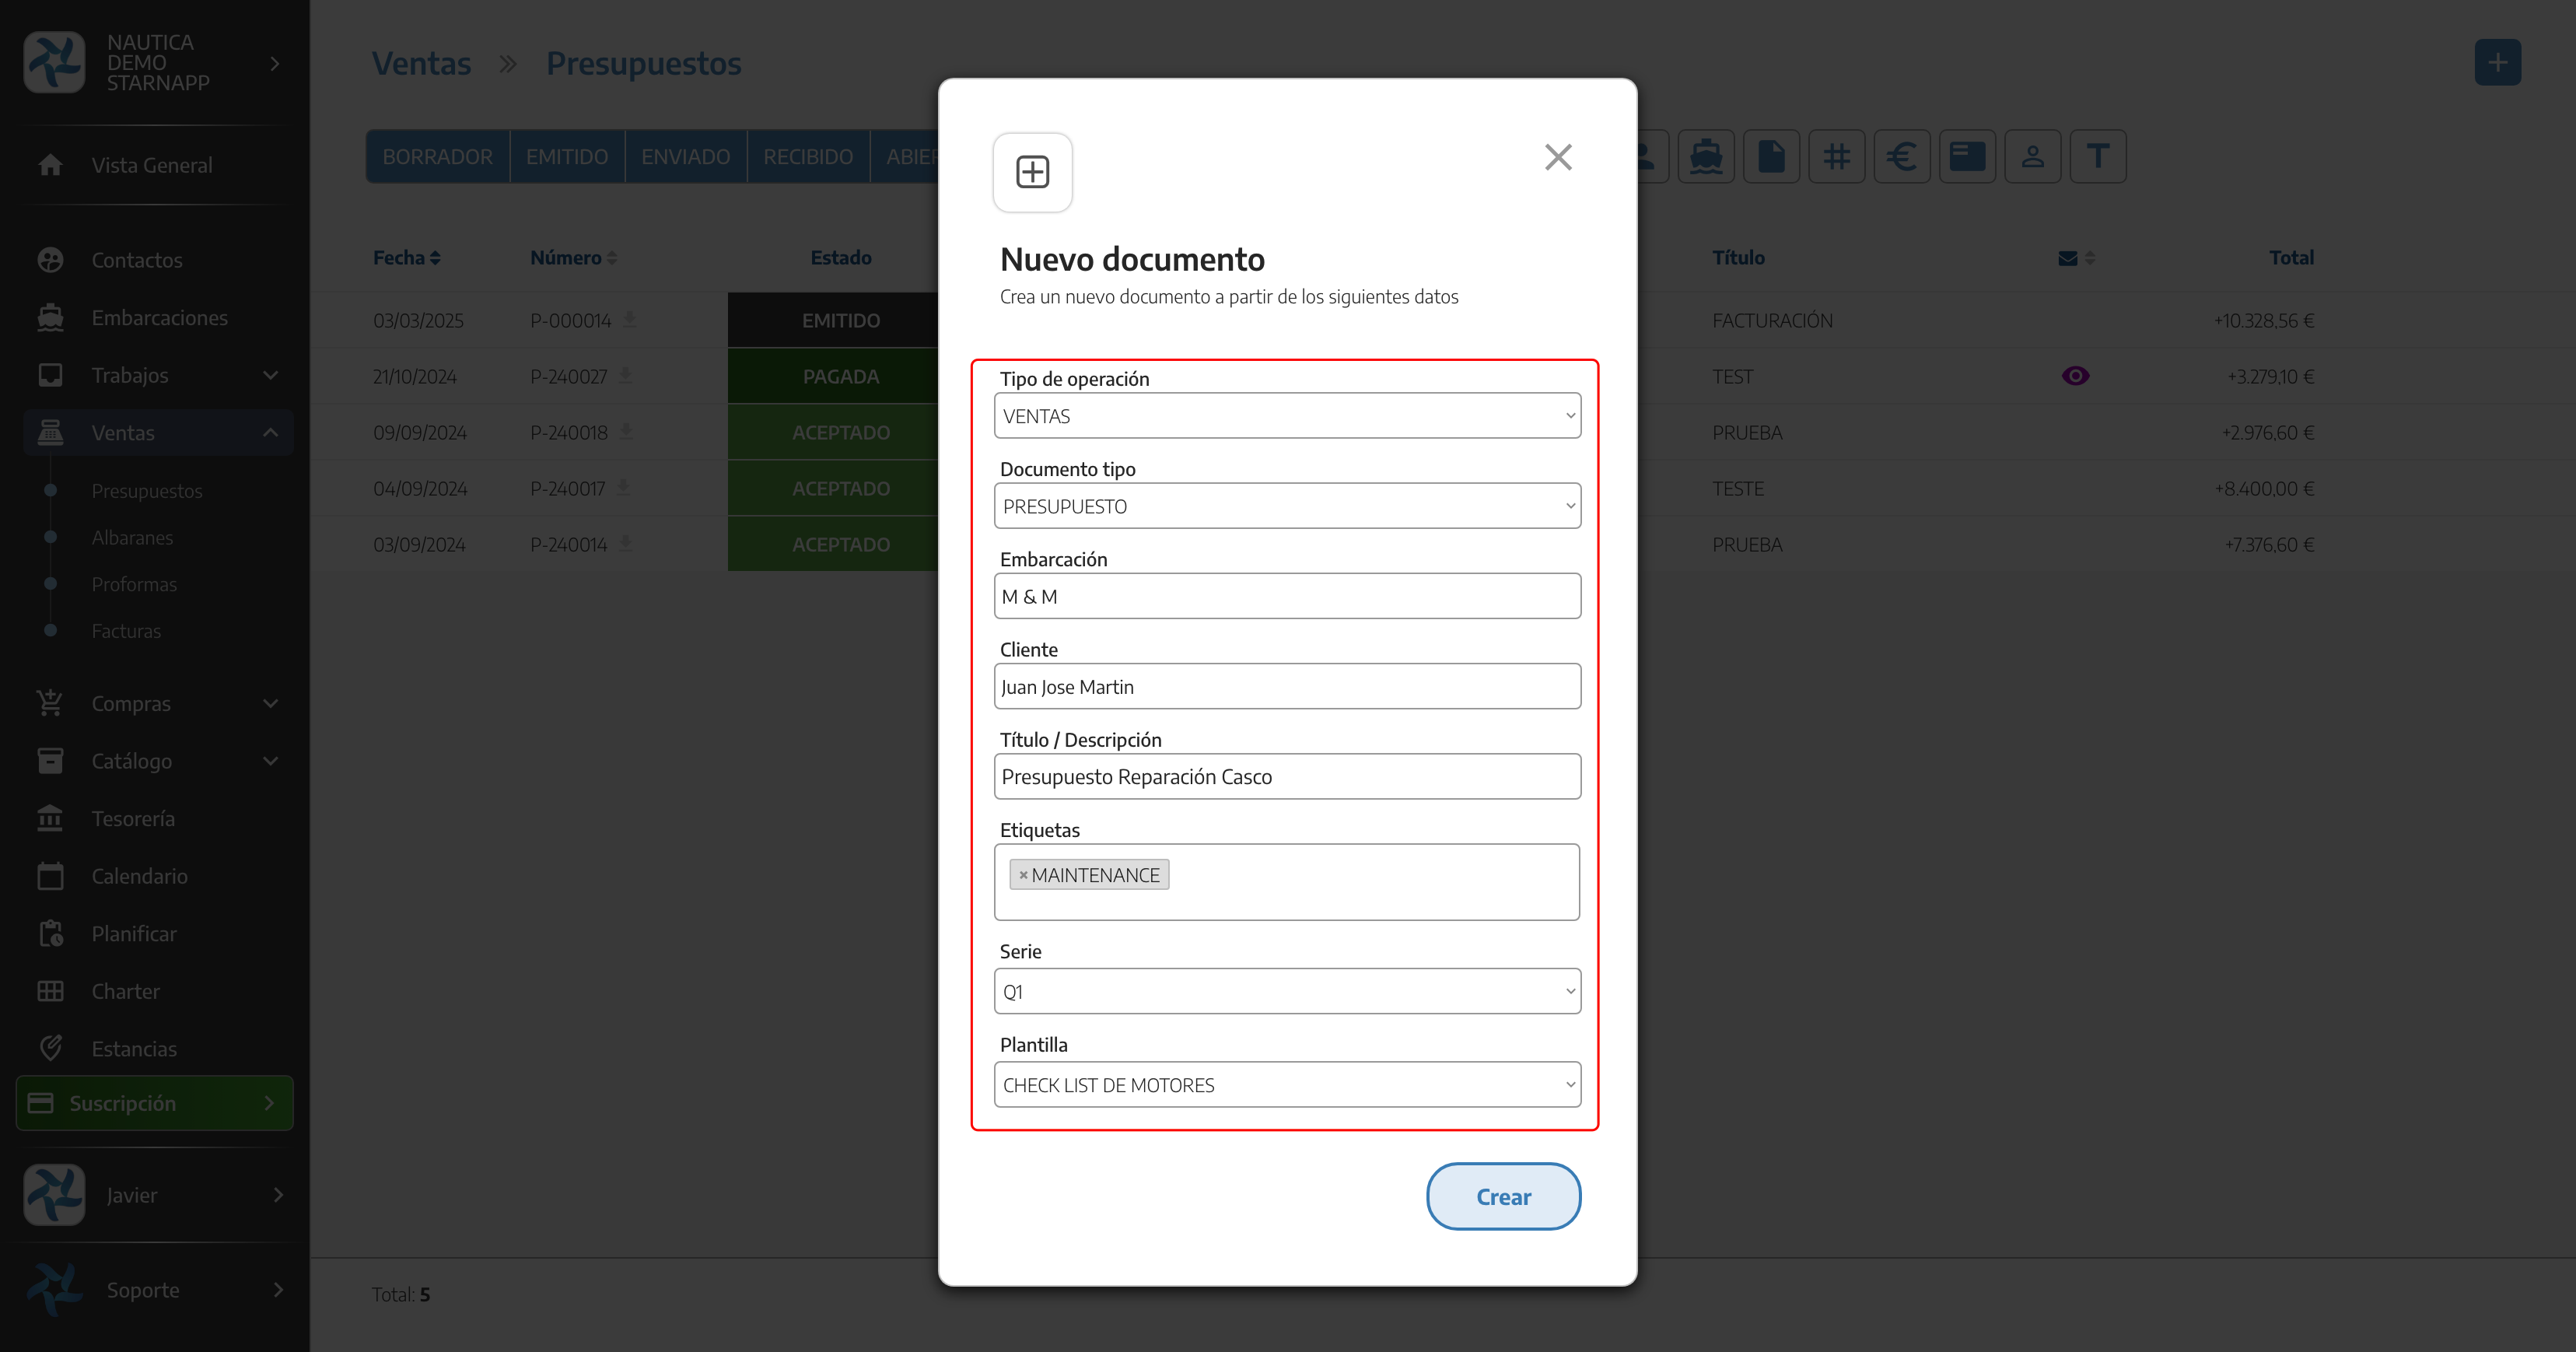
From the + button in Sales, we choose the document type QUOTE.
We enter the VESSEL we're going to bill the quote against. If it's already saved in our list, StarNapp automatically fills in the associated CUSTOMER. If we type in a vessel or a customer that doesn't exist, it warns us that they'll be created as new records, and they'll be saved for future documents.
We write a DESCRIPTION to identify what the quote is about.
We can add TAGS, useful for finding it more easily in the lists.
We select the SERIES and the TEMPLATE we have saved.
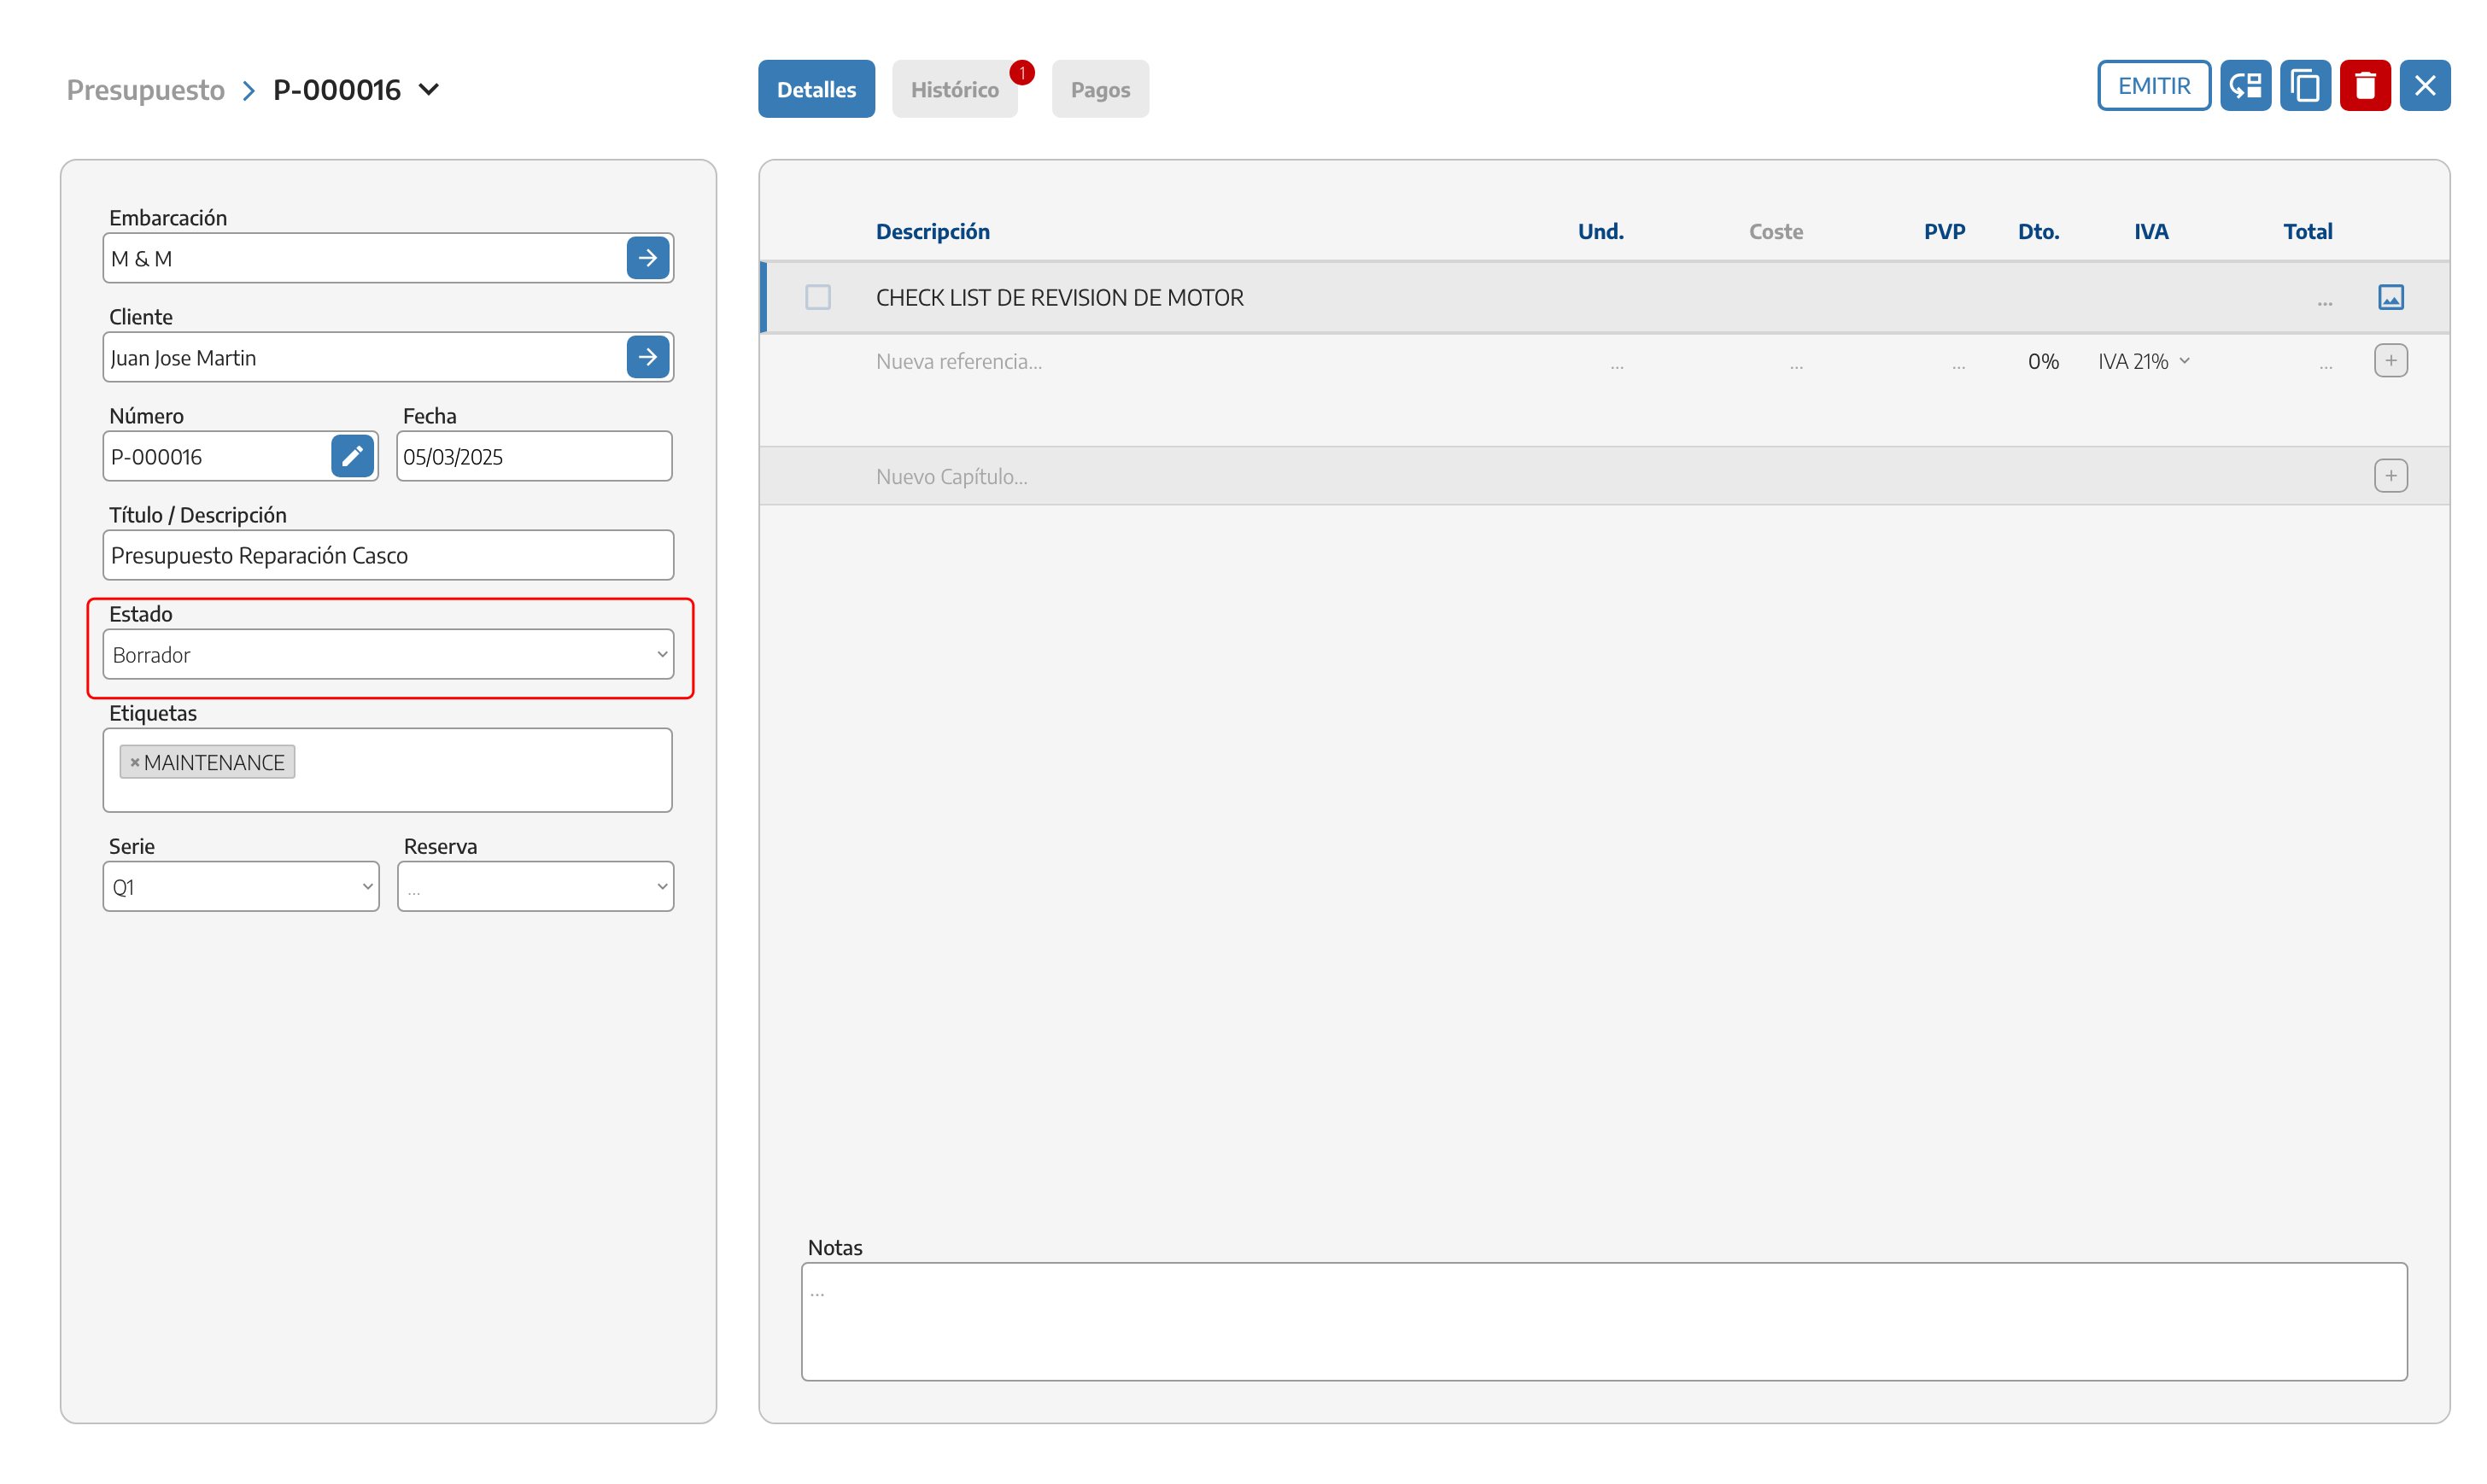
Once created, the left-hand column shows all the data we entered in the form. While the quote is in DRAFT mode we can freely edit all its fields.
We can also create the quote without a vessel, entering only the customer (direct sale) — see Converting documents.
In the right-hand column we load the quote's chapters and materials, with their prices, discounts and taxes.
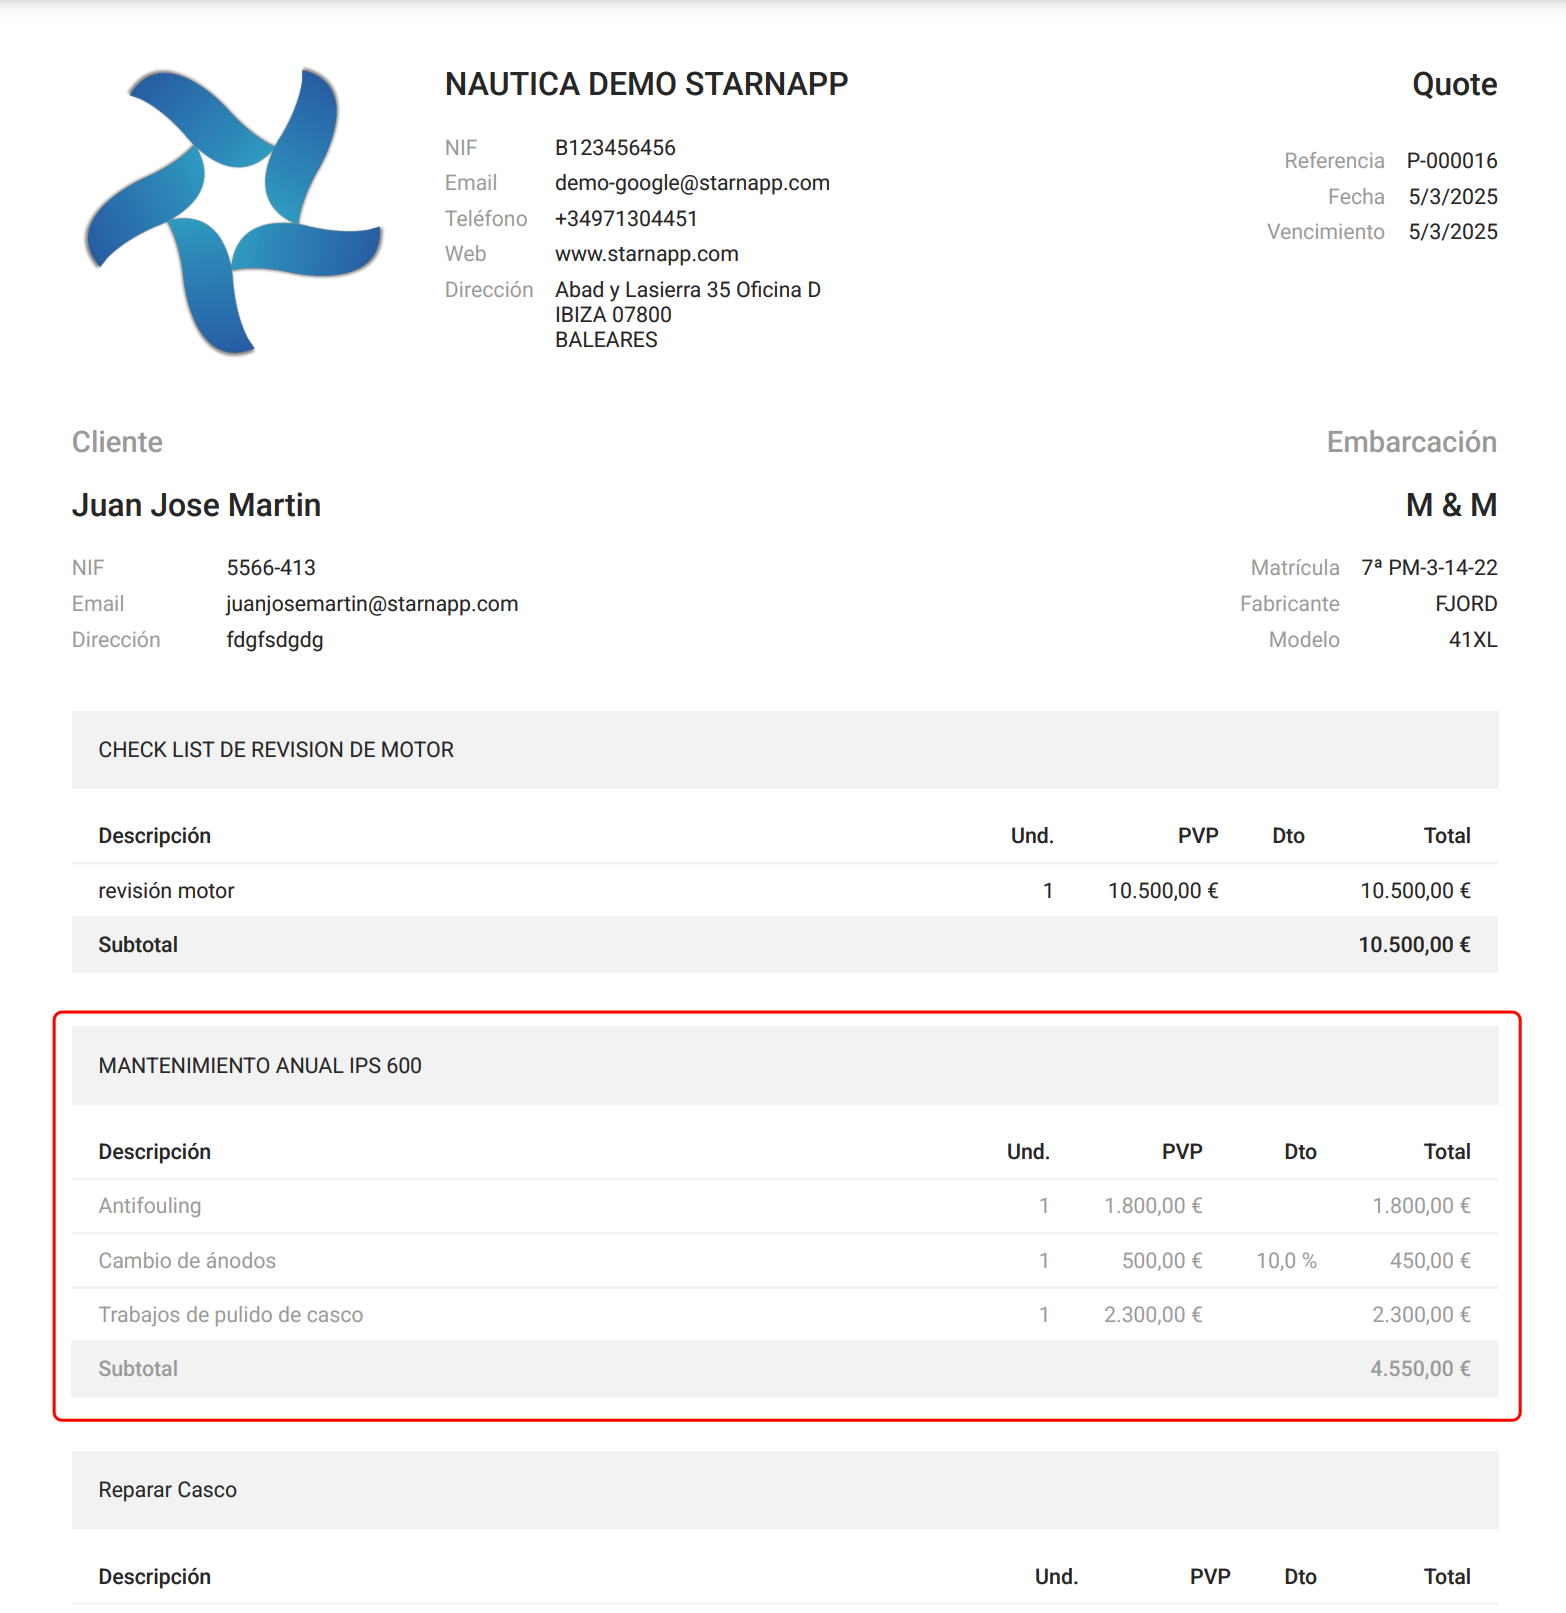
We can also mark a chapter as OPTIONAL, with the button in the top-right corner of each chapter. An optional chapter is shown to the customer the same as the rest, but its amount isn't included in the total until they accept it explicitly. It's mainly used to present recommended work without forcing the customer to take on its cost upfront.
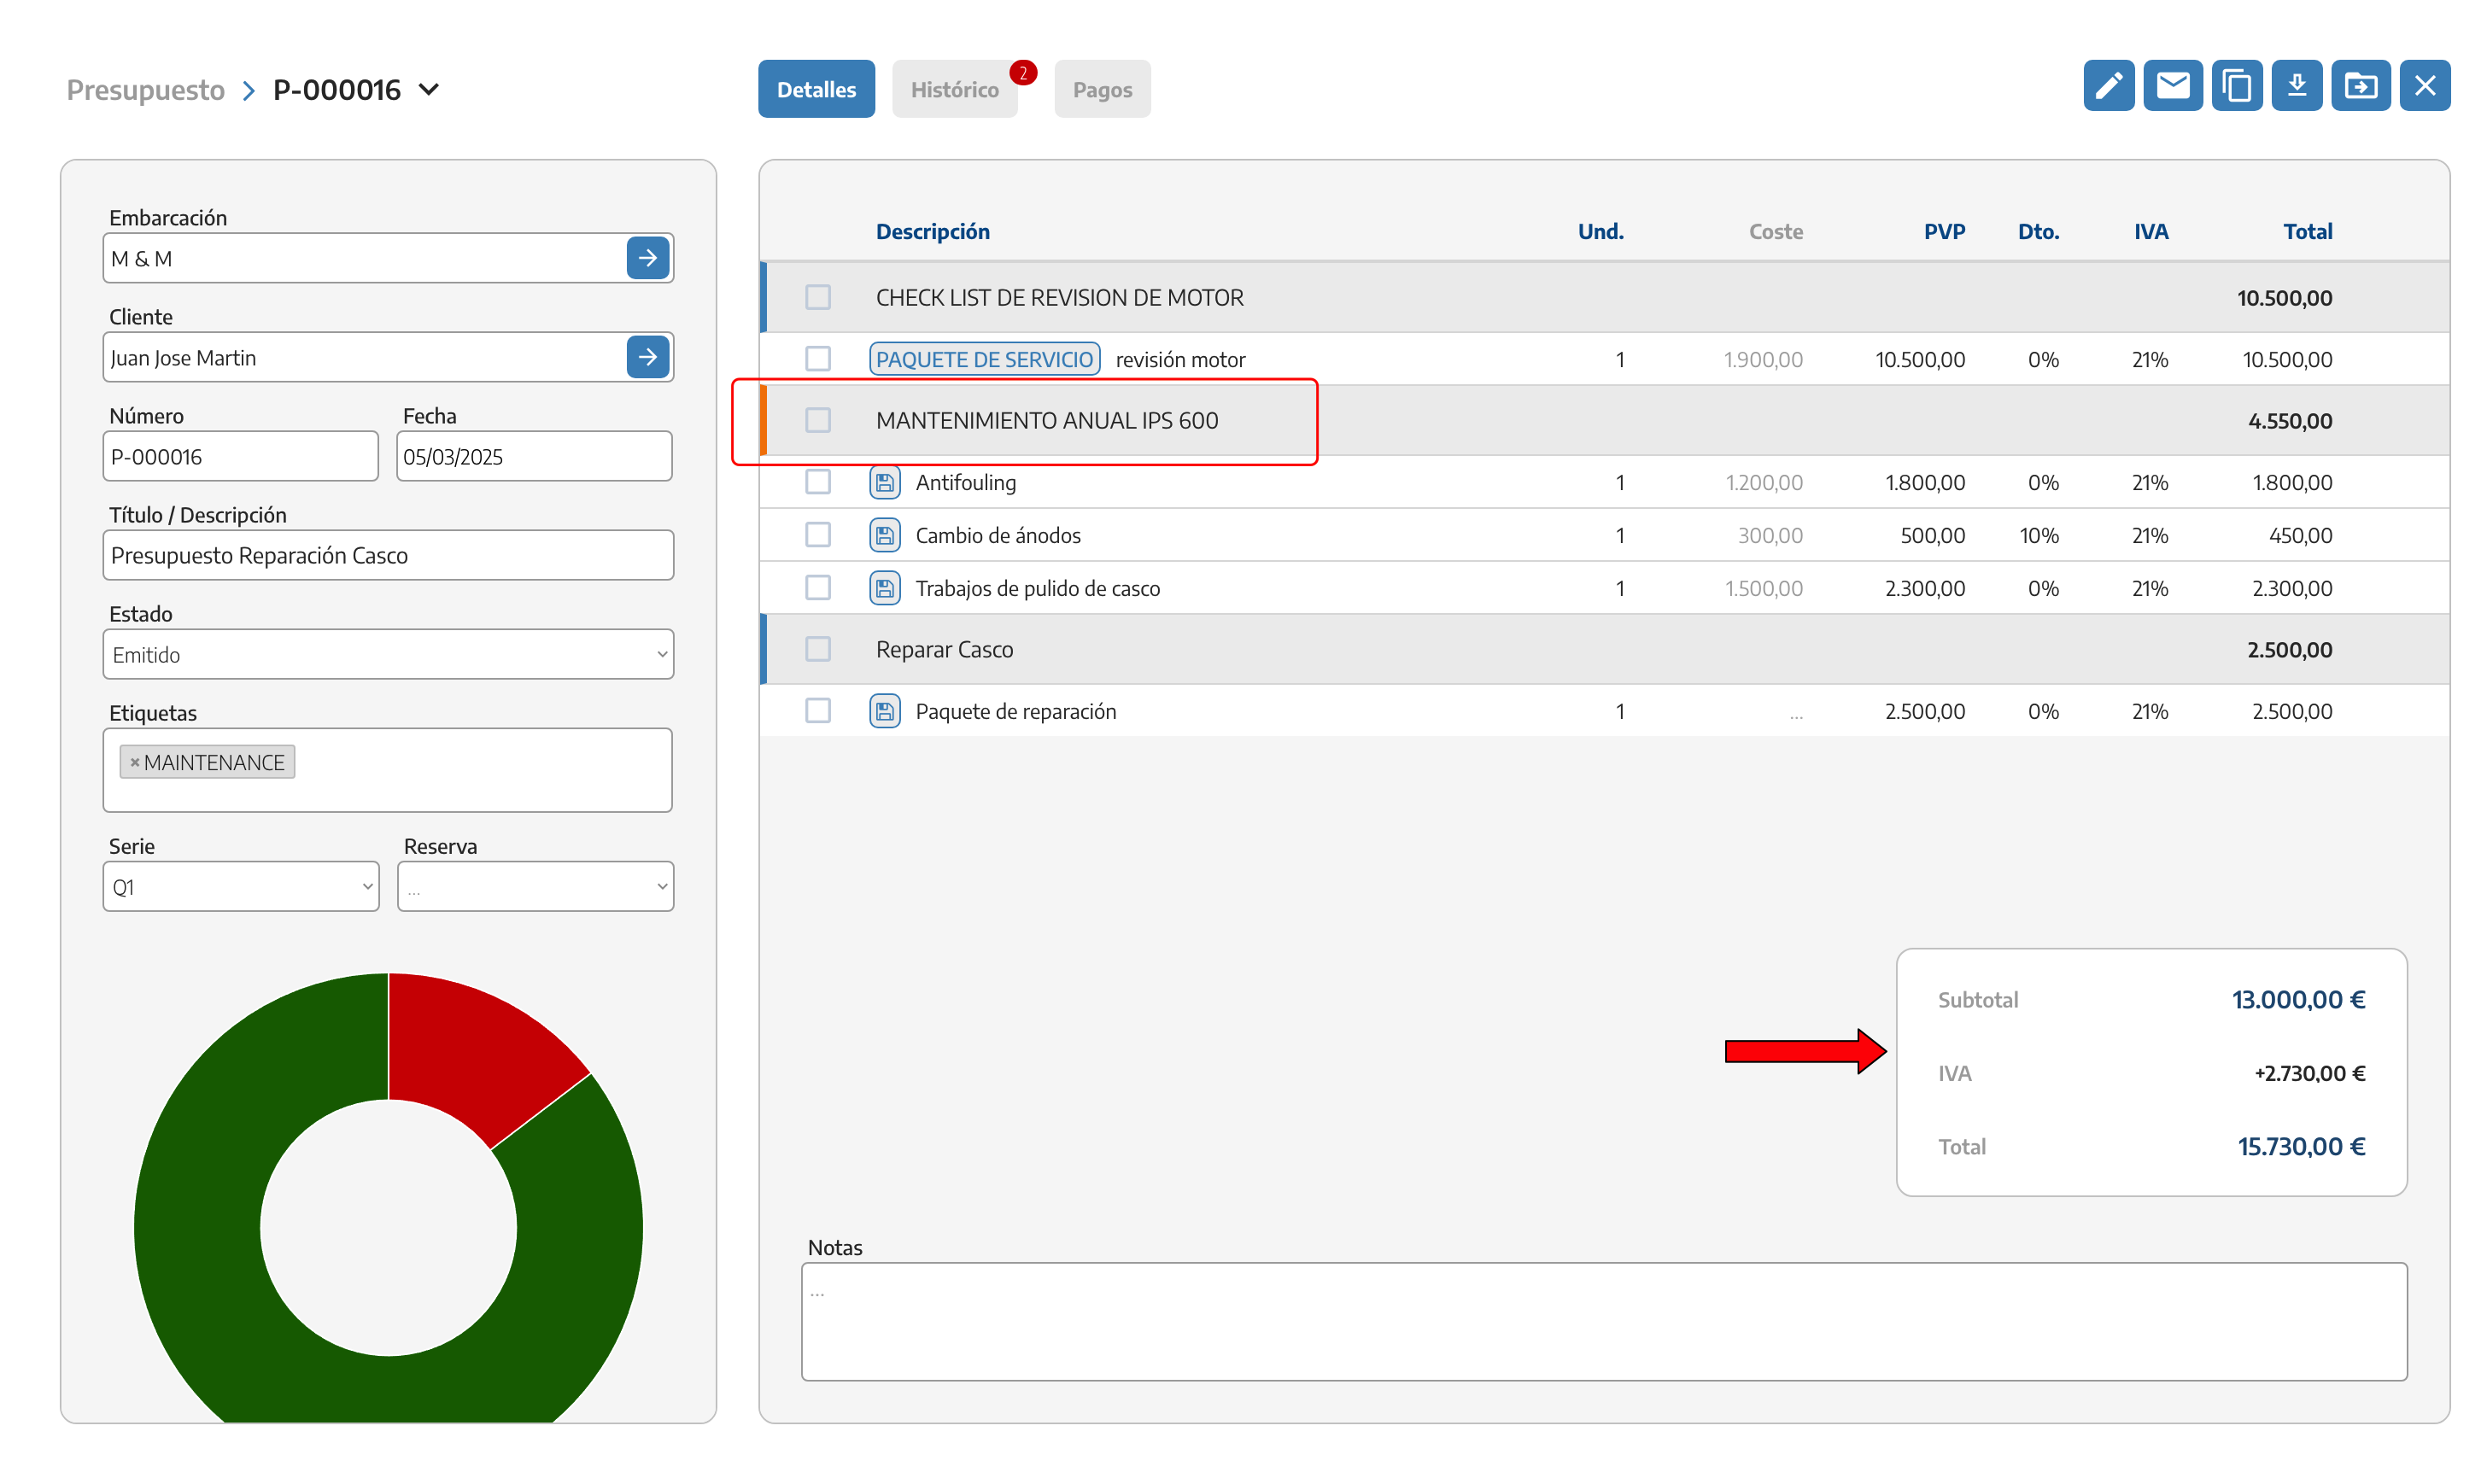
For the detail of lines, chapters, images, supplied expenses and other elements common to all sales documents, see Working with sales documents.
If we're going to ask the customer for an advance payment before starting the work, we set up the quote's DEPOSIT: a percentage or an exact amount. That value is automatically carried over when we convert the quote into a DEPOSIT INVOICE, and we can repeat it as many times as we need until the total is covered.
The full detail of this mechanism (how it's reflected when converting, several successive deposits, how they're deducted in the final invoice) is in Invoices.
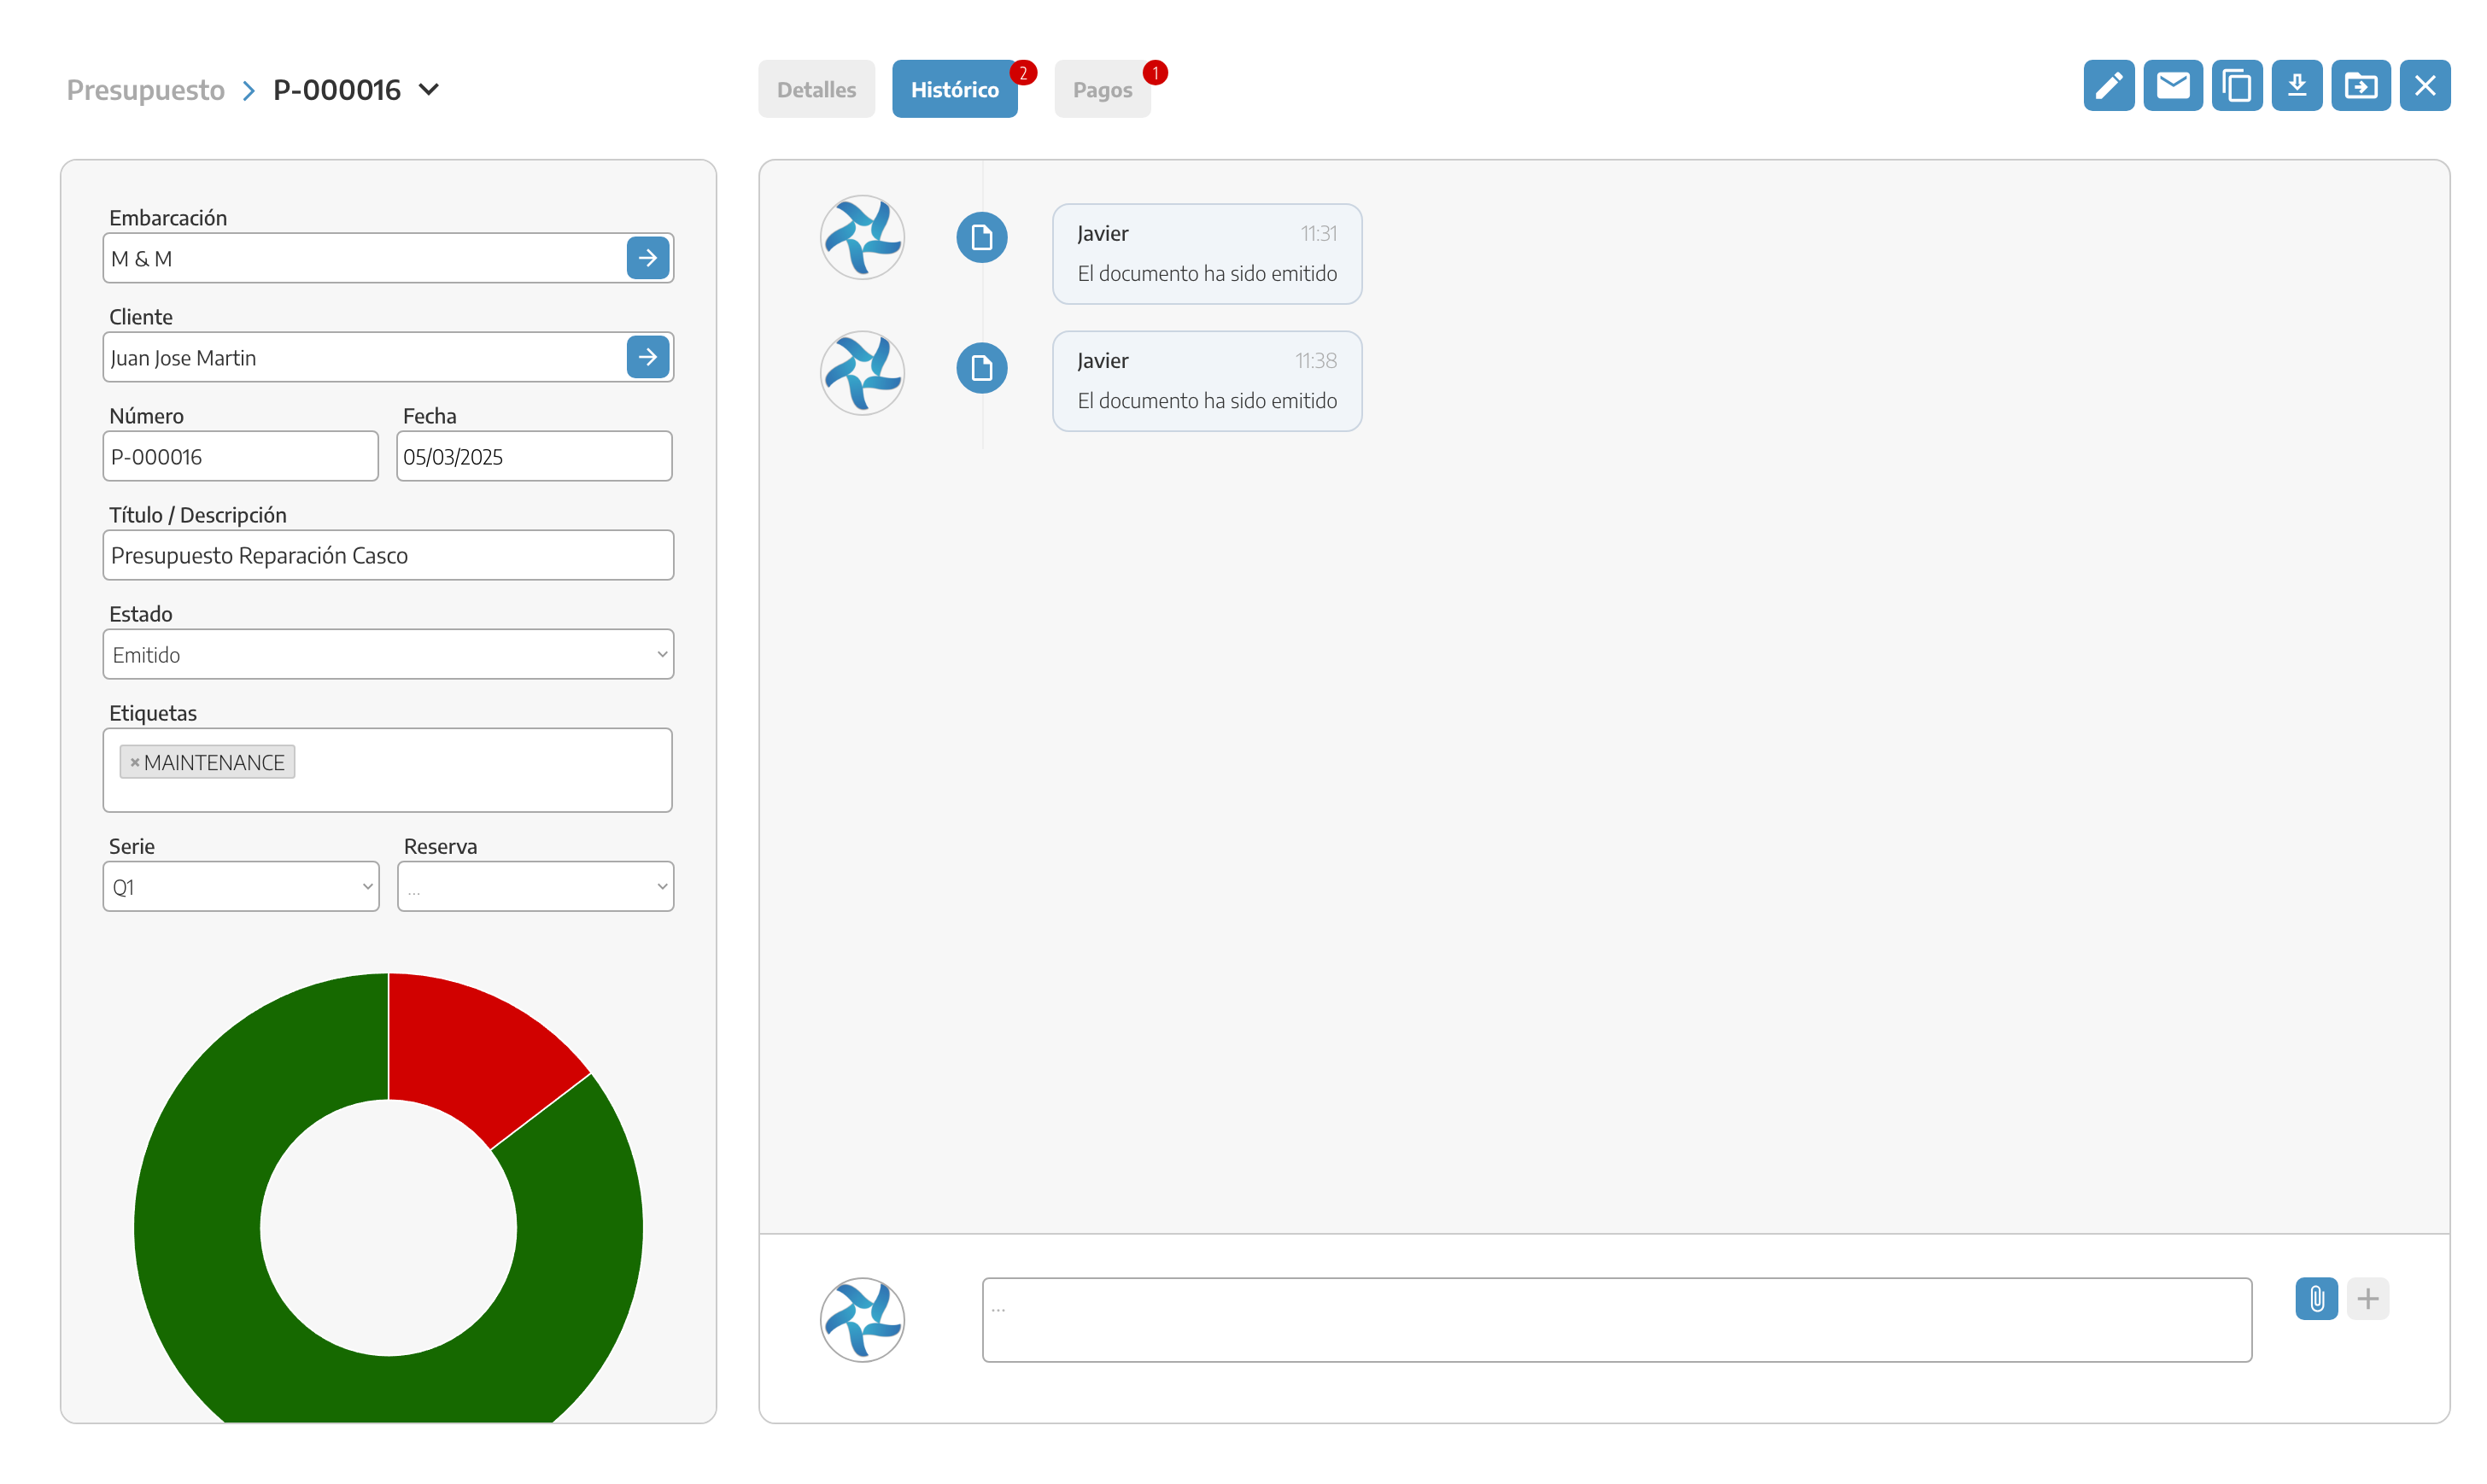
In the HISTORY tab we see all the statuses the quote has gone through: whether the customer accepted or rejected it, and whether they left any comment.
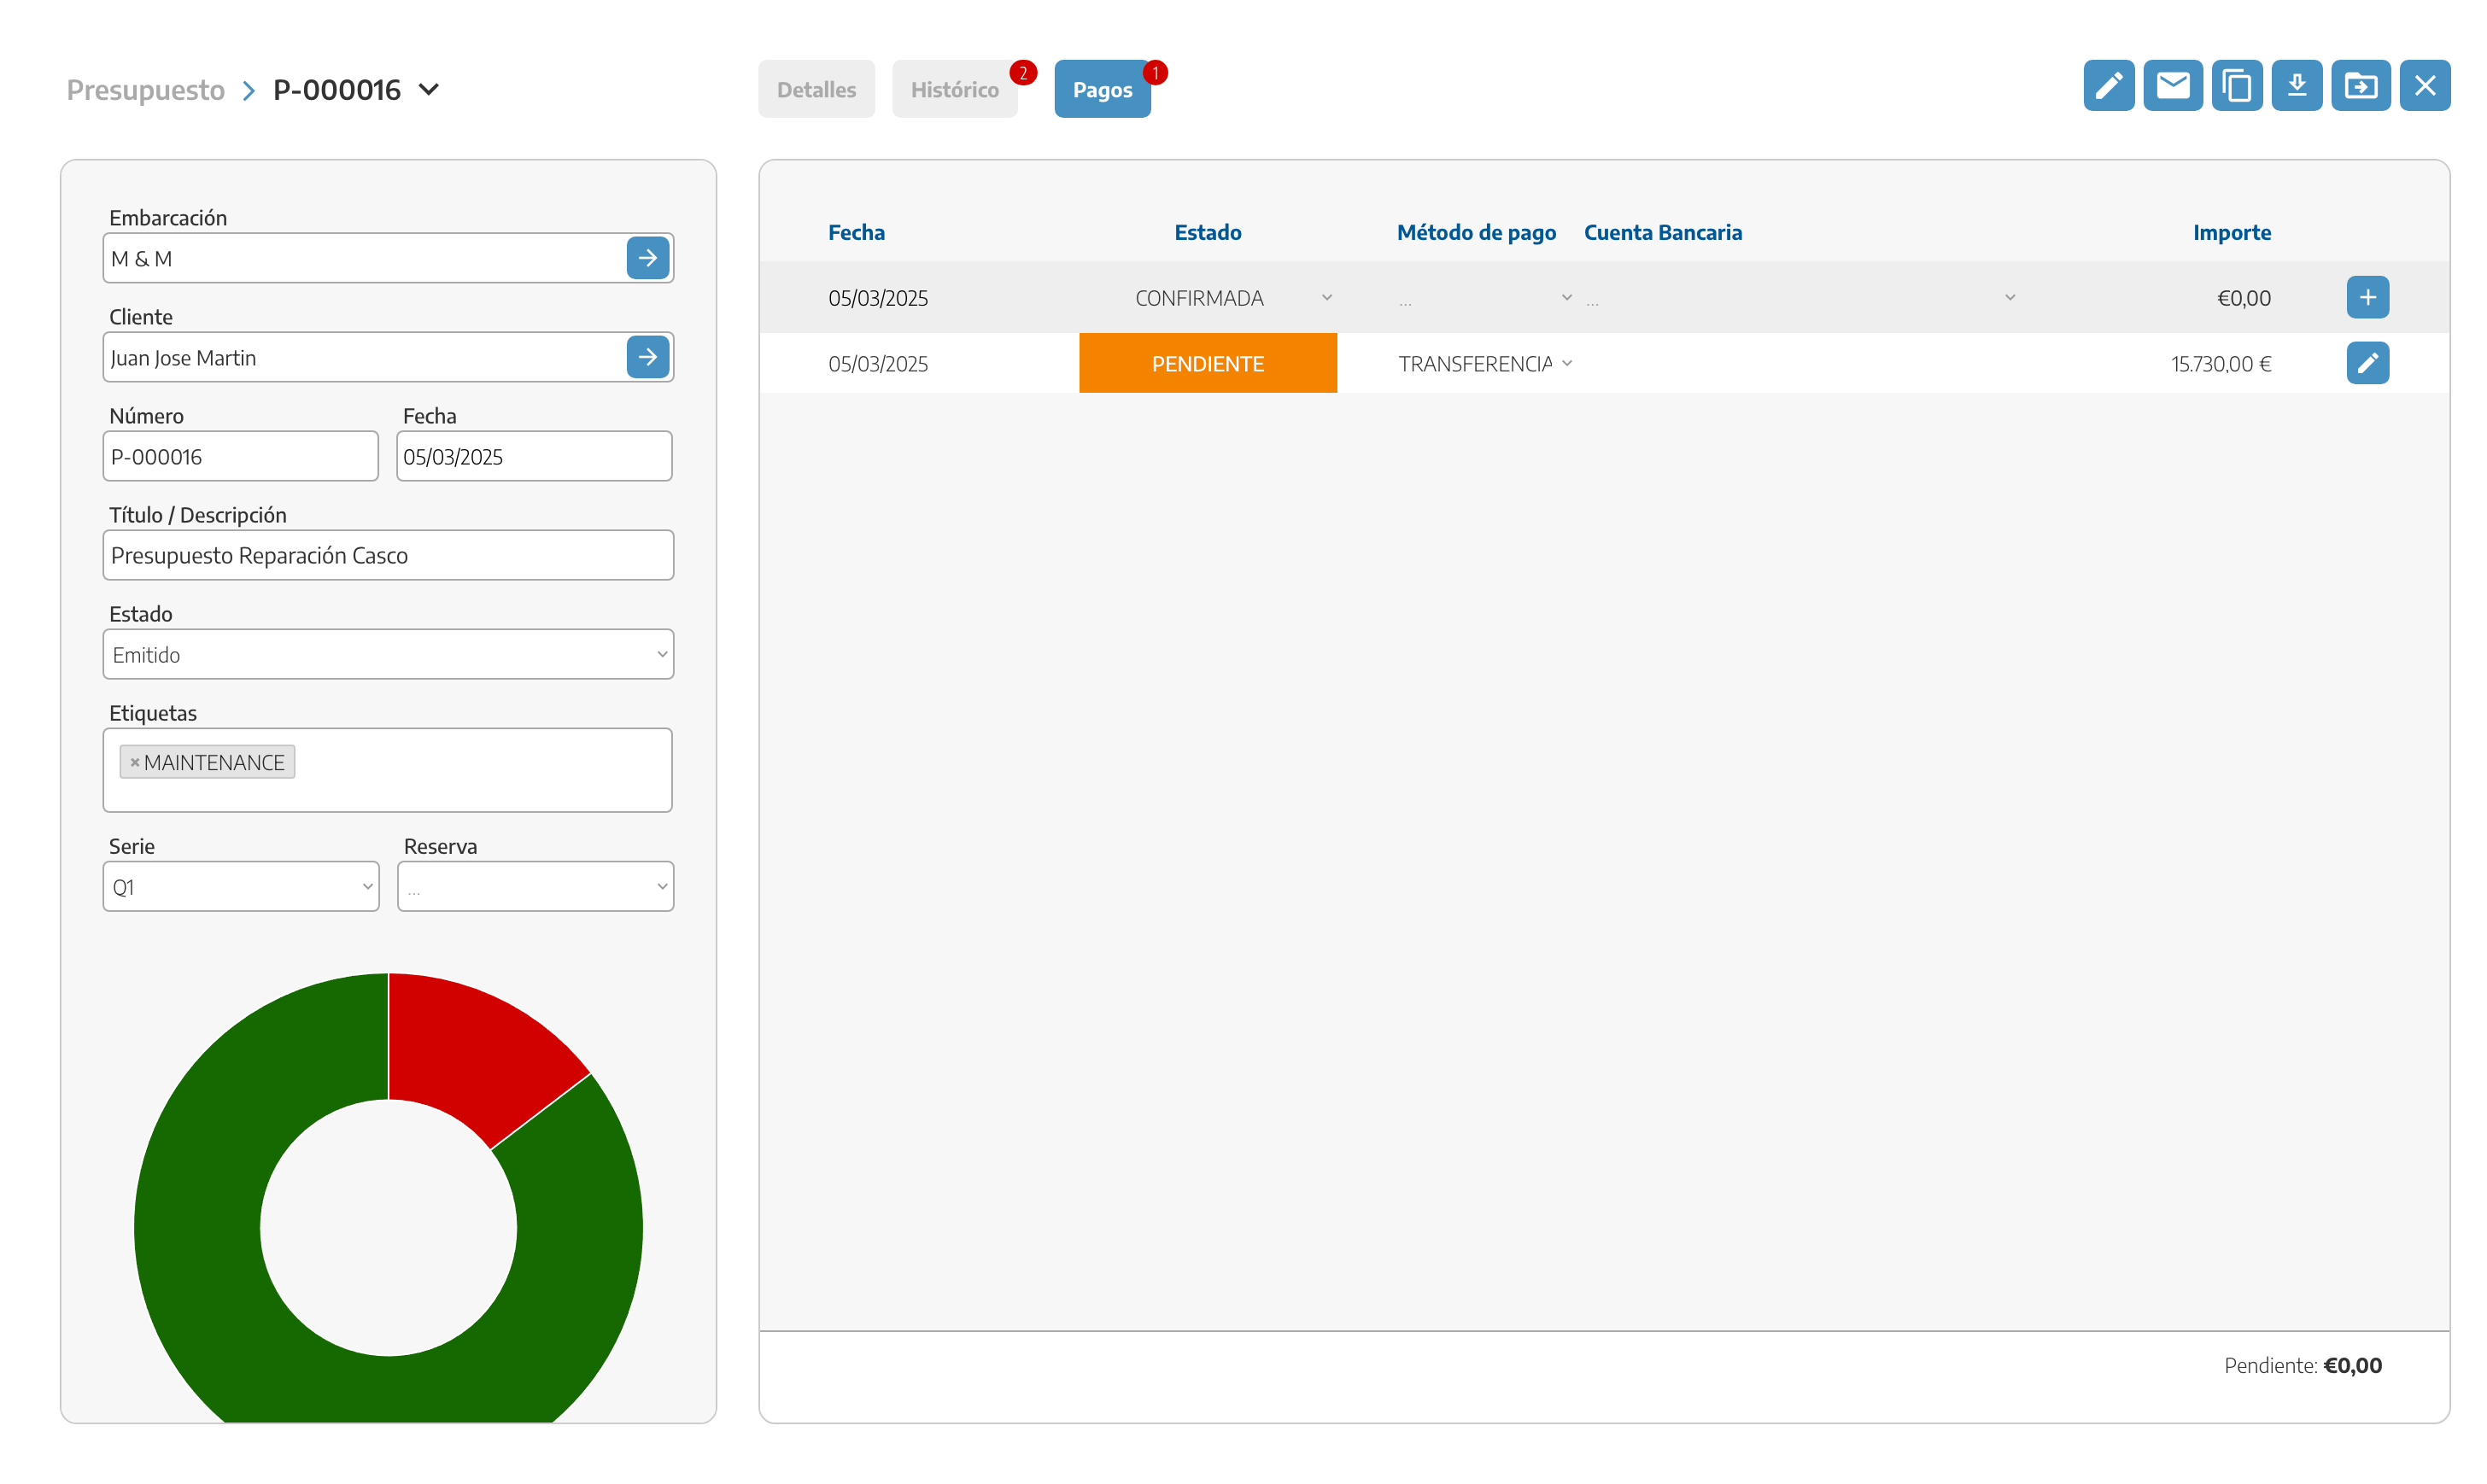
In the PAYMENTS tab we see all the confirmed and pending payments on that quote.
ACCEPTED and REJECTED are statuses specific to the quote: we won't see them on any other type of sales document.
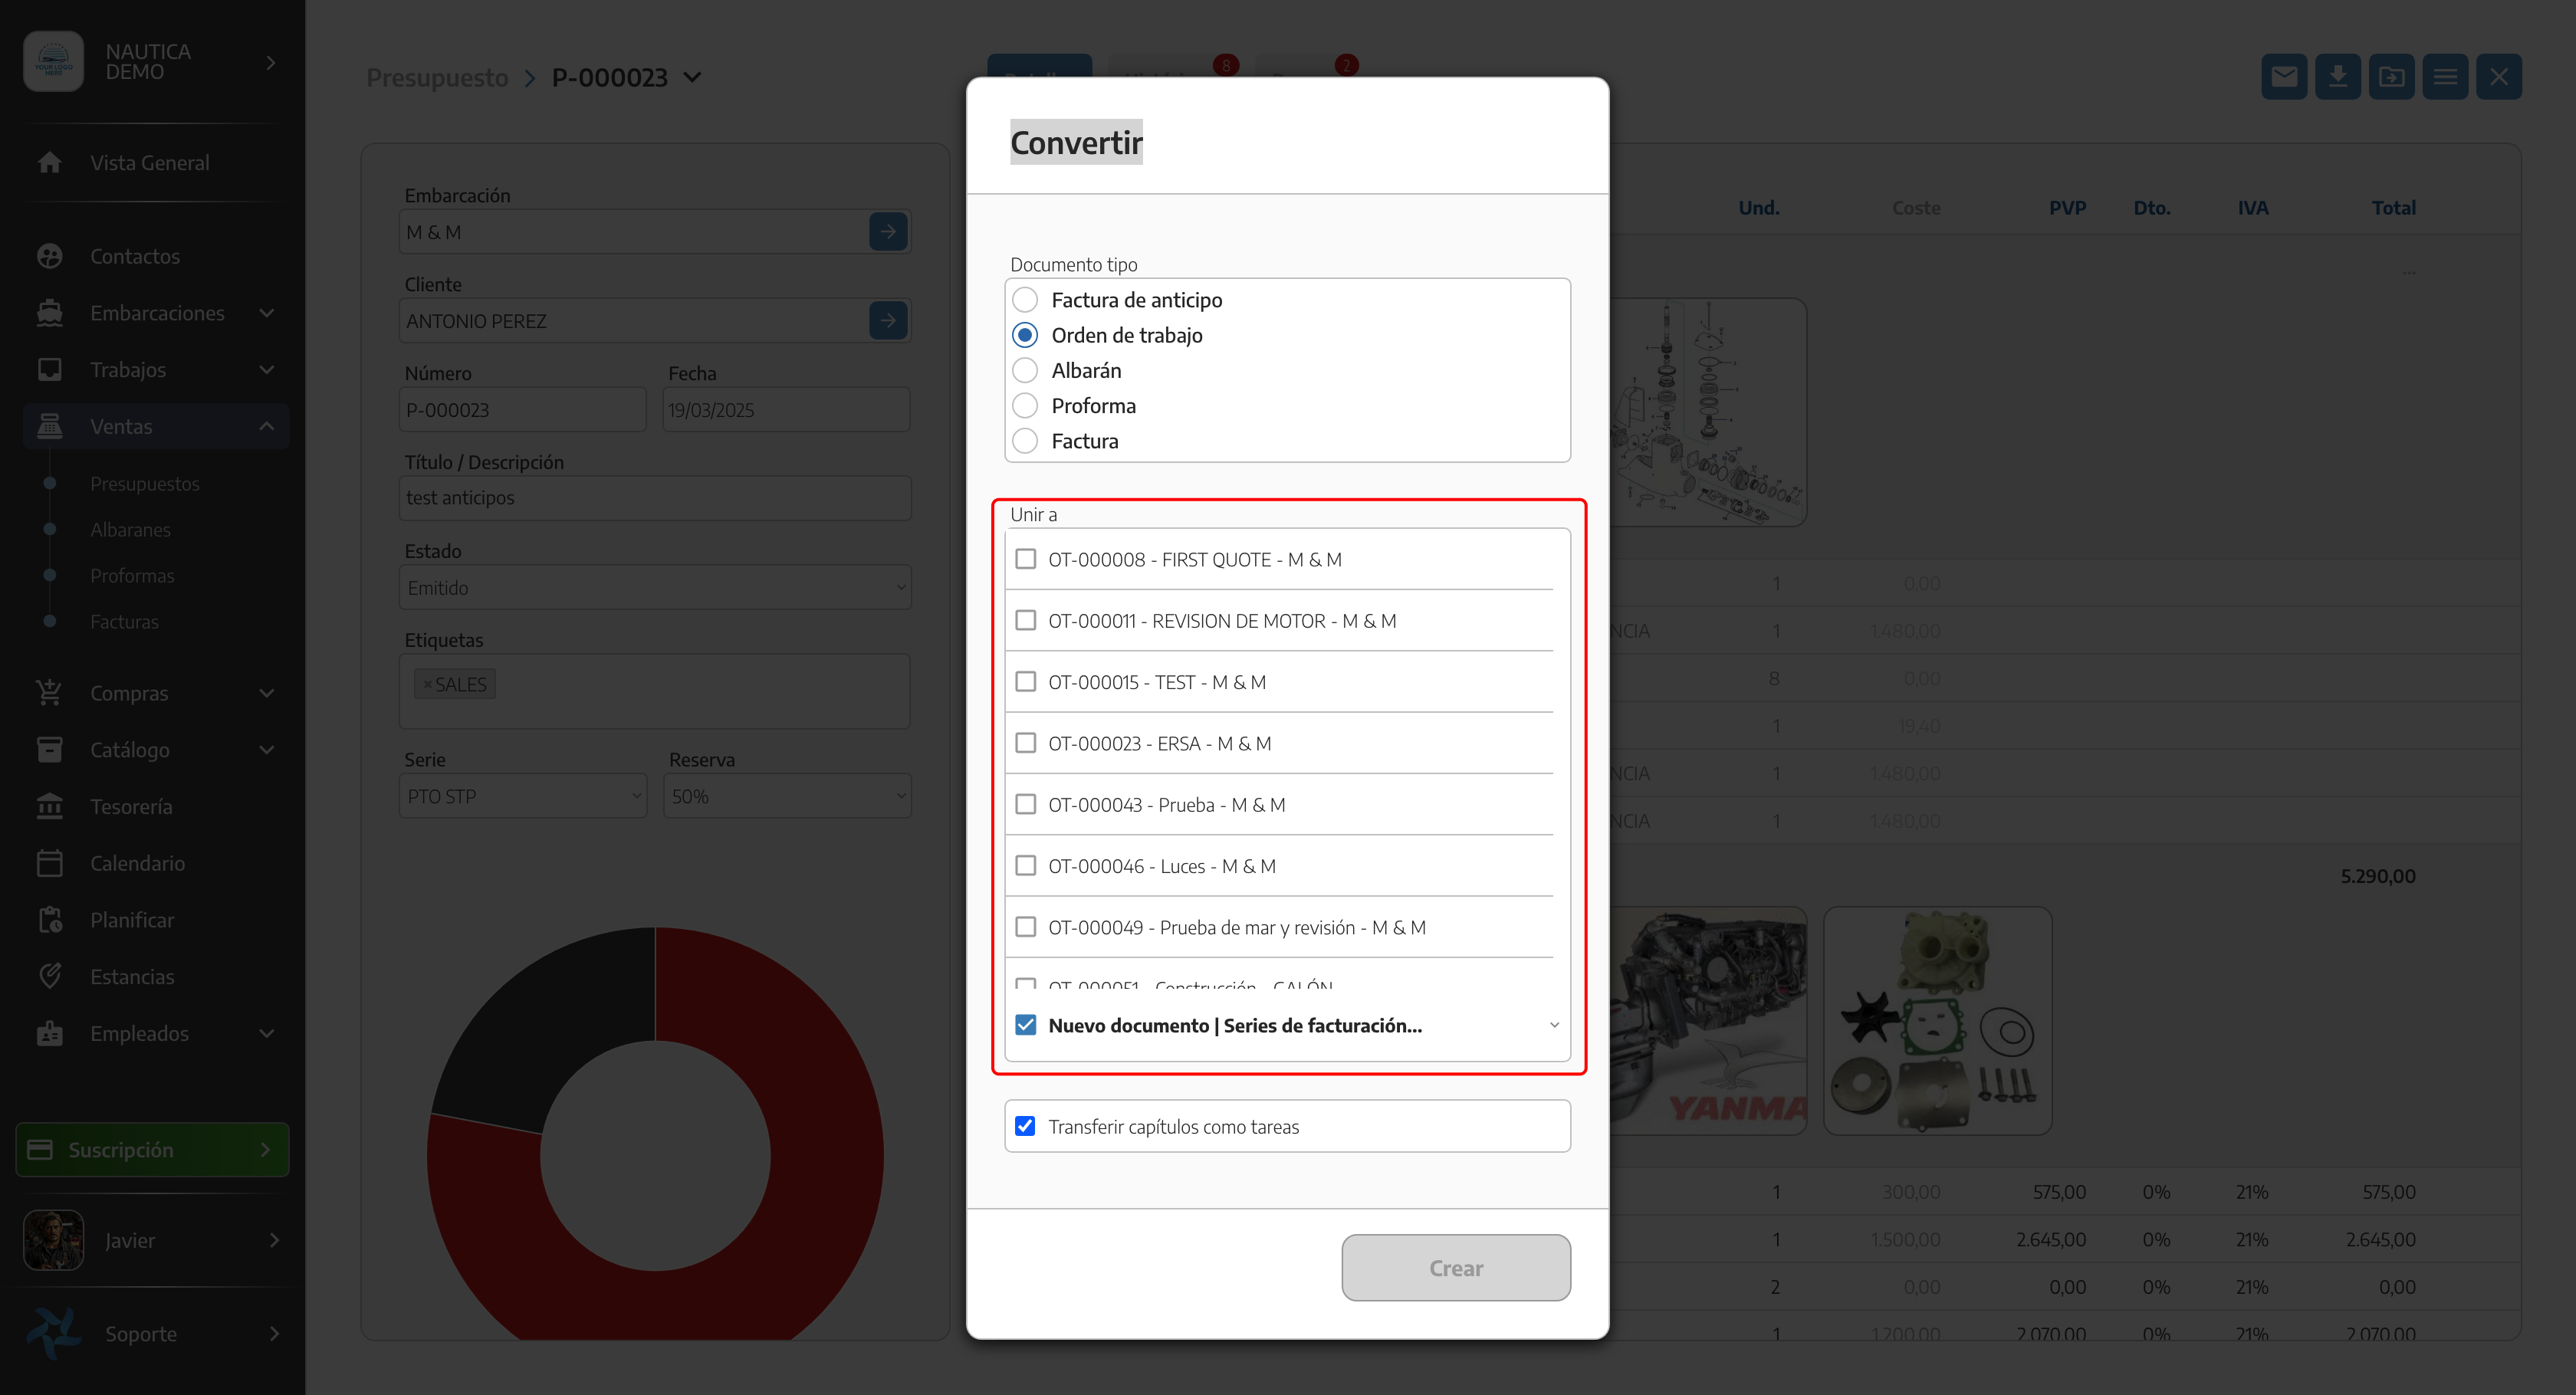
If we already have an open WORK ORDER for the same customer, we can link this quote to it instead of creating a new work order.
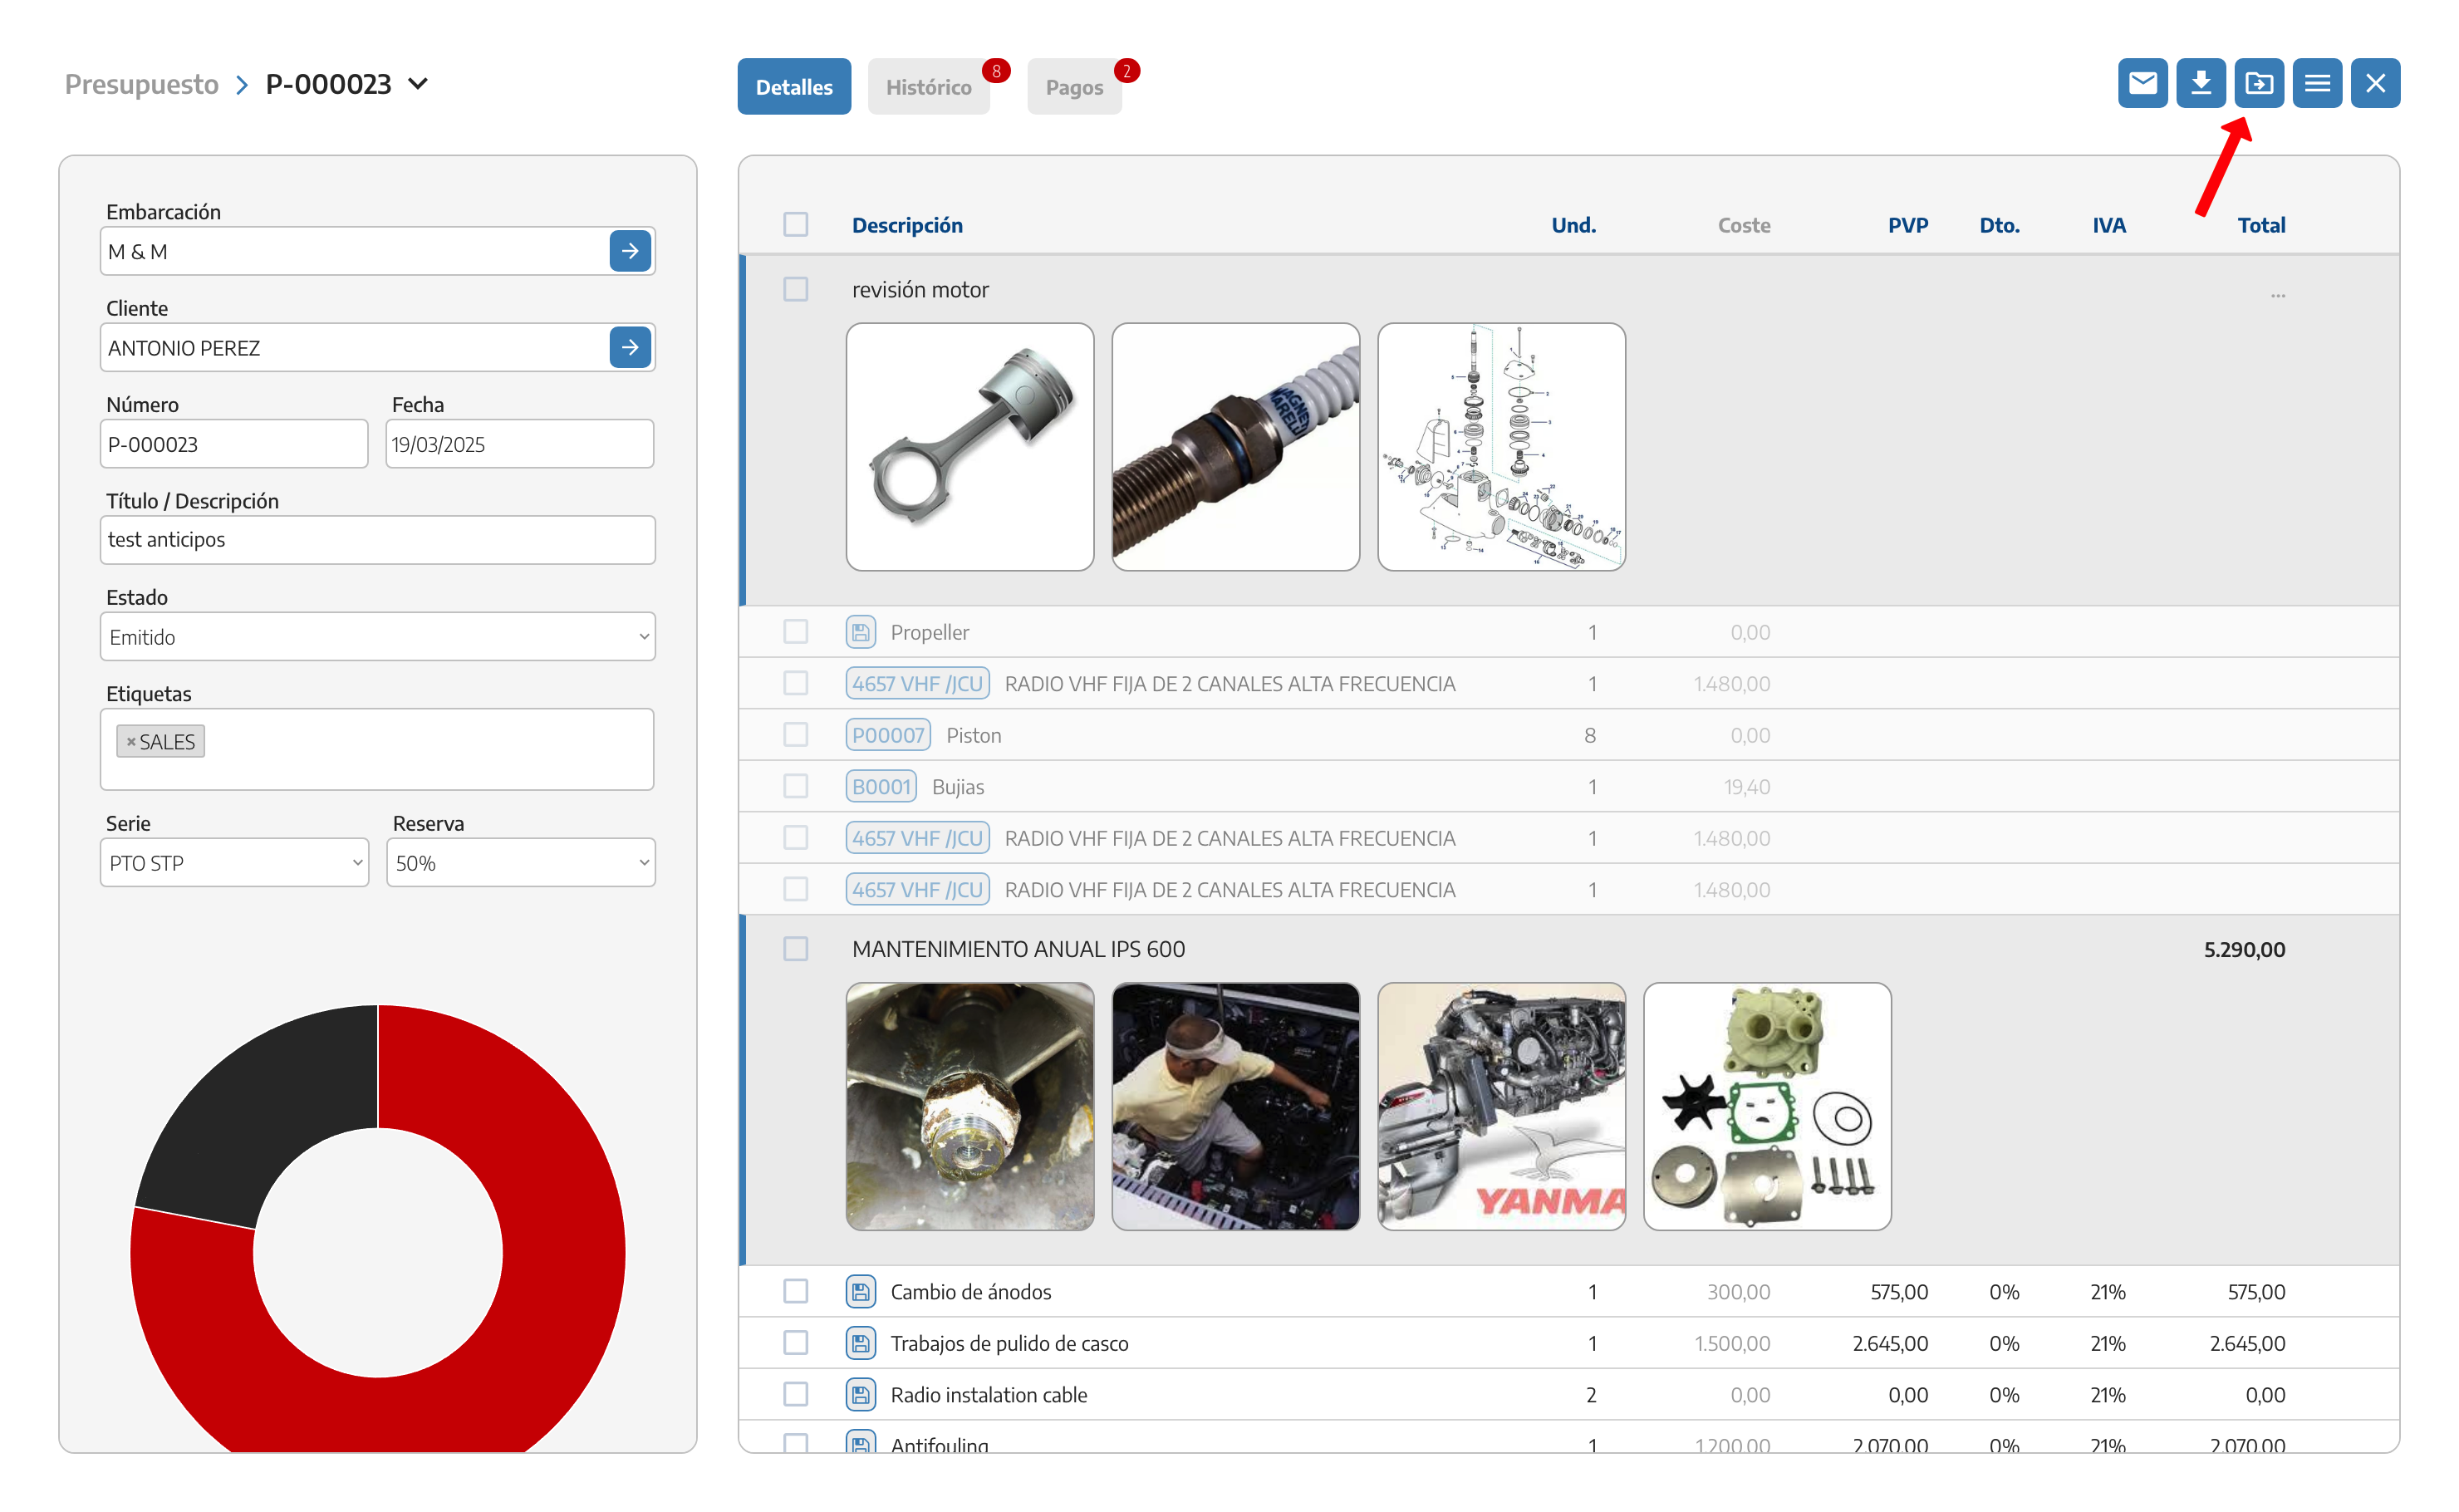
To do that, we press the CONVERT button and select the WORK ORDER option.
All the work orders for the same customer will appear, so we can choose which one to link the quote to.
If we'd rather create a new work order from the quote, or better understand the role of the work order in the sales flow, see Work orders in sales.
While the quote is in DRAFT, all its fields are editable.
An optional chapter doesn't add to the total until the customer accepts it explicitly.
ACCEPTED and REJECTED only exist on quotes.
For the full conversion into an invoice, delivery note, proforma or deposit invoice, see Converting documents.