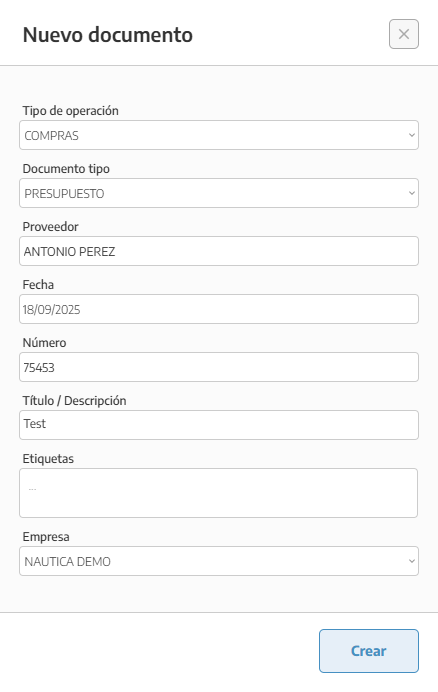
The process for creating purchase budgets is the same as for other documents. At the top right, you can create a new budget with the + sign. In this pop up, we'll fill in the required information and create the document.
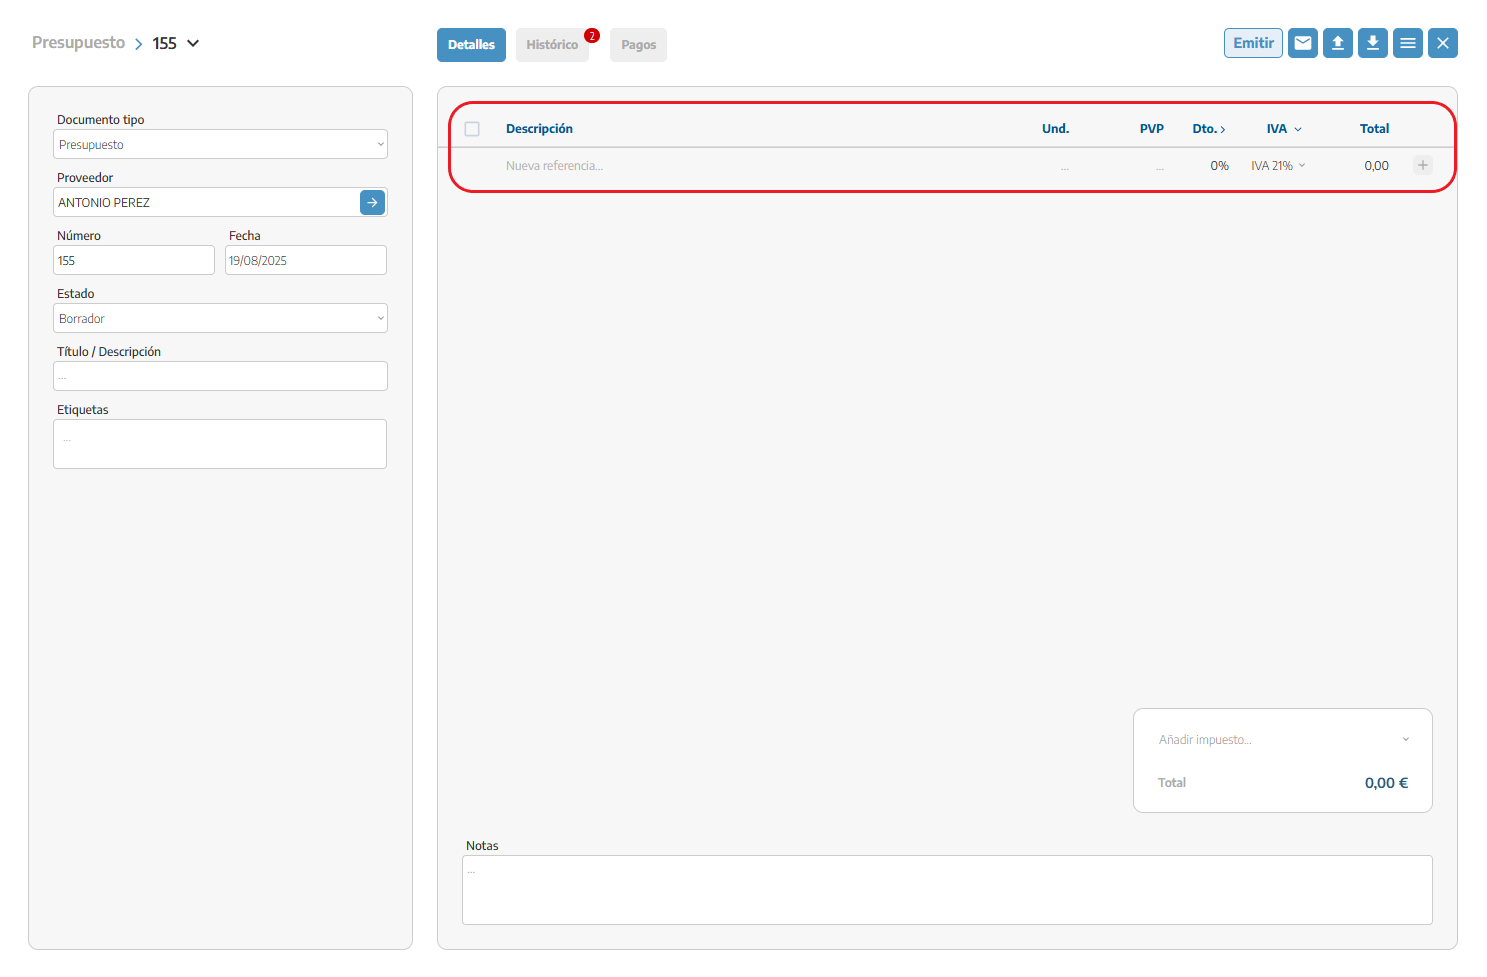
Once the document is created, we move on to filling in our budget with the needed products.
Another way to upload your purchase budgets, if you have them on paper, is with the document scanner (available on the advance plan or as an add-on*).
In the menu on the left side, under purchases, we have the Inbox tab. You'll see an upload button on the top right; this is where we upload our purchase document.
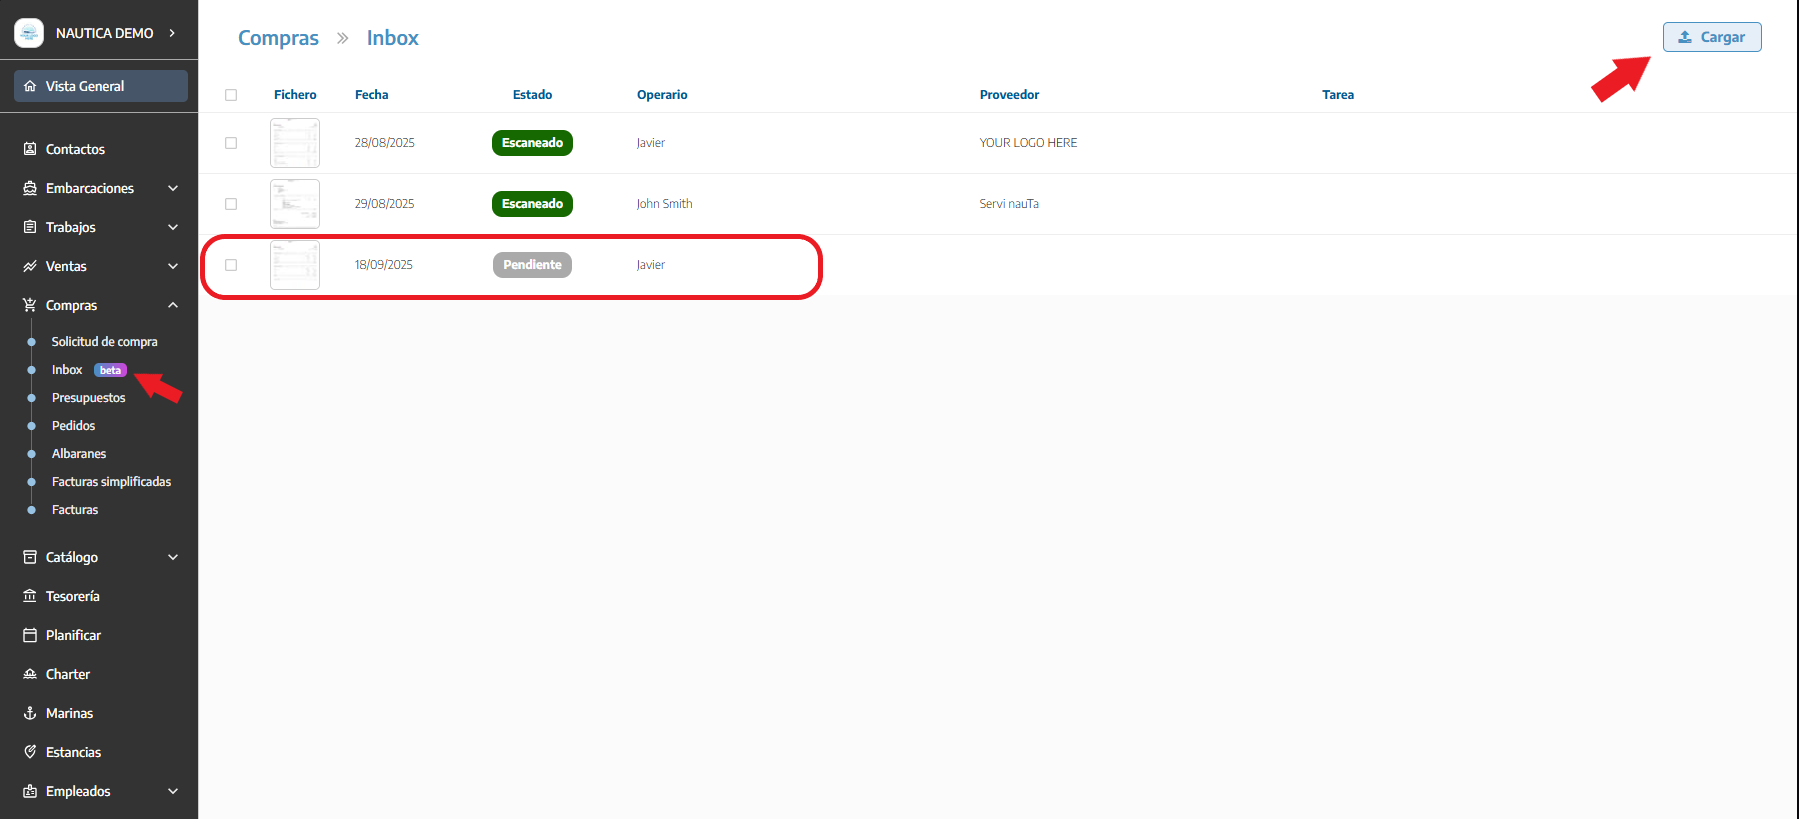
Once it's uploaded, hit scan and the program will analyze the content of the document. After it loads, we recommend checking the document, since there could be mistakes. On the left column, you can see the supplier's info.

Located further down, we see the assign button. This gives us the chance to assign these materials to an already created work order or to an internal job.
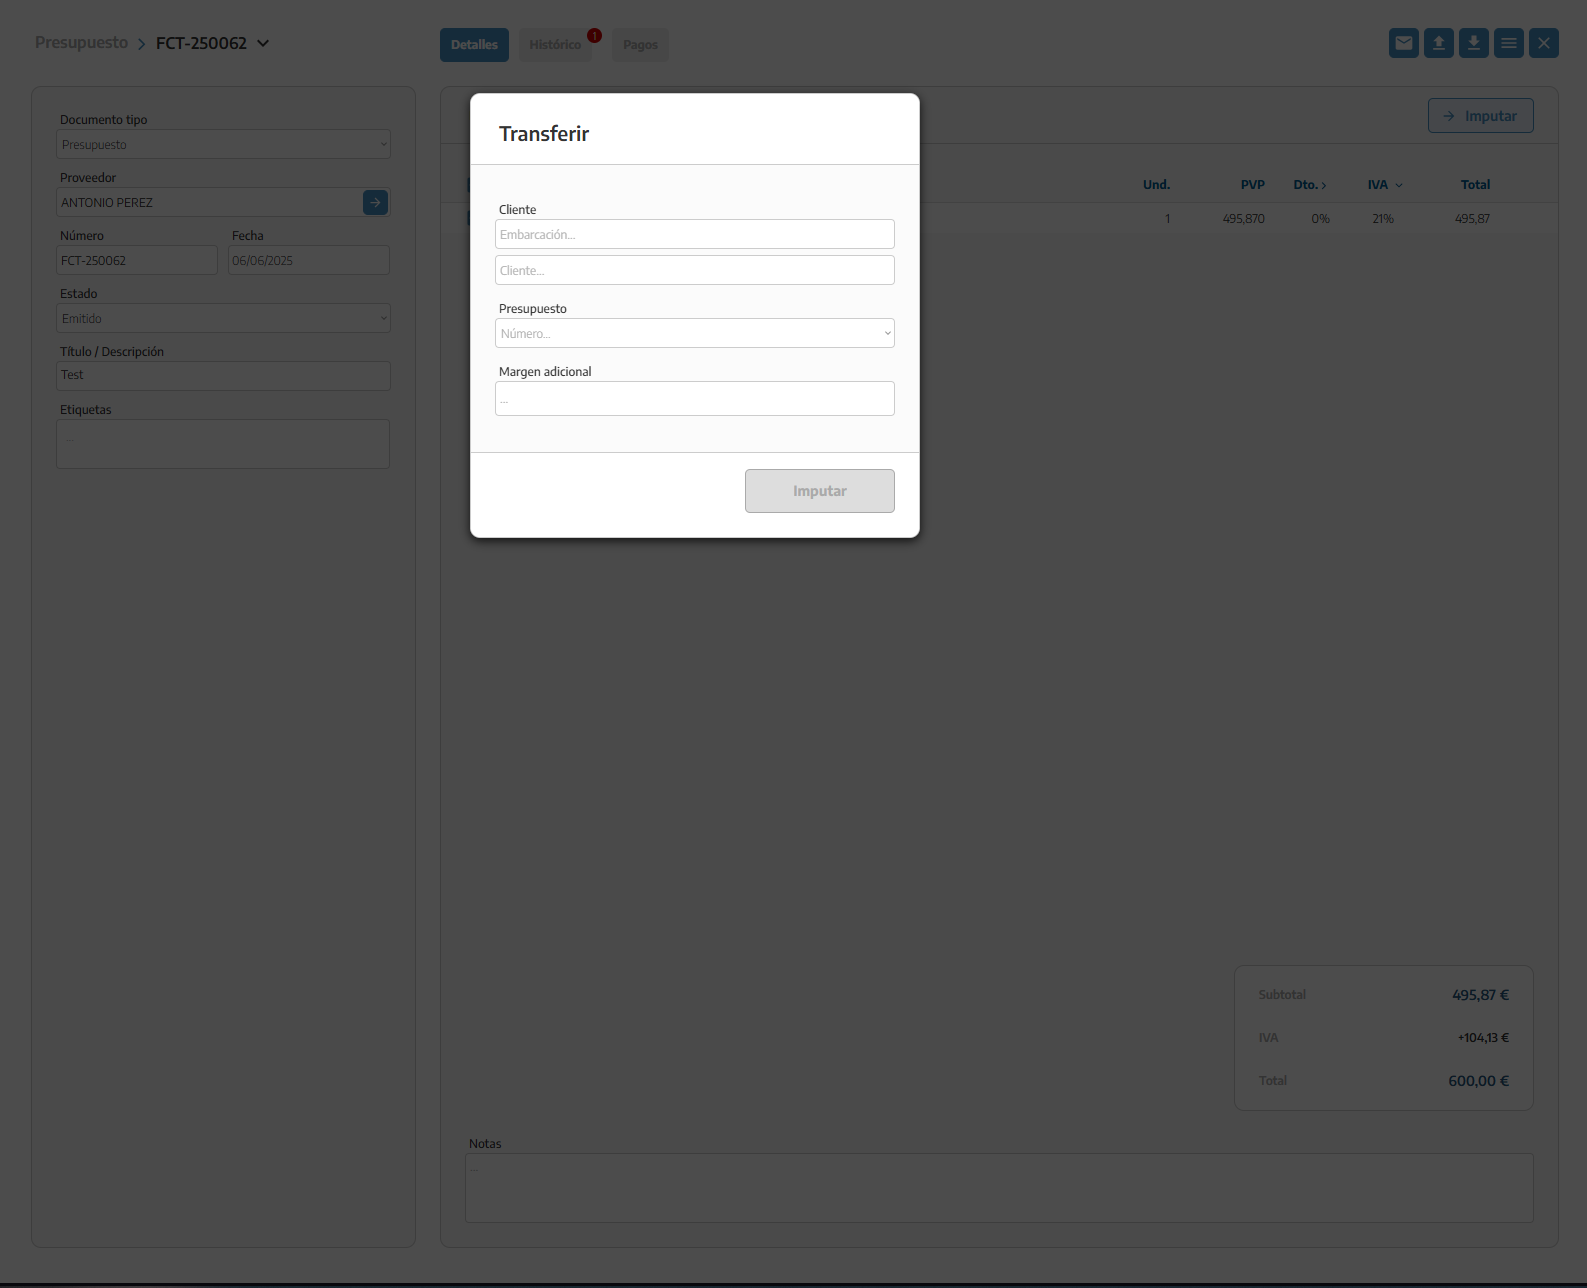
Since in this case it's a quote, we can see it under the quotes tab in the purchases section. From here, we can link these materials to one of our already created sales quotes.